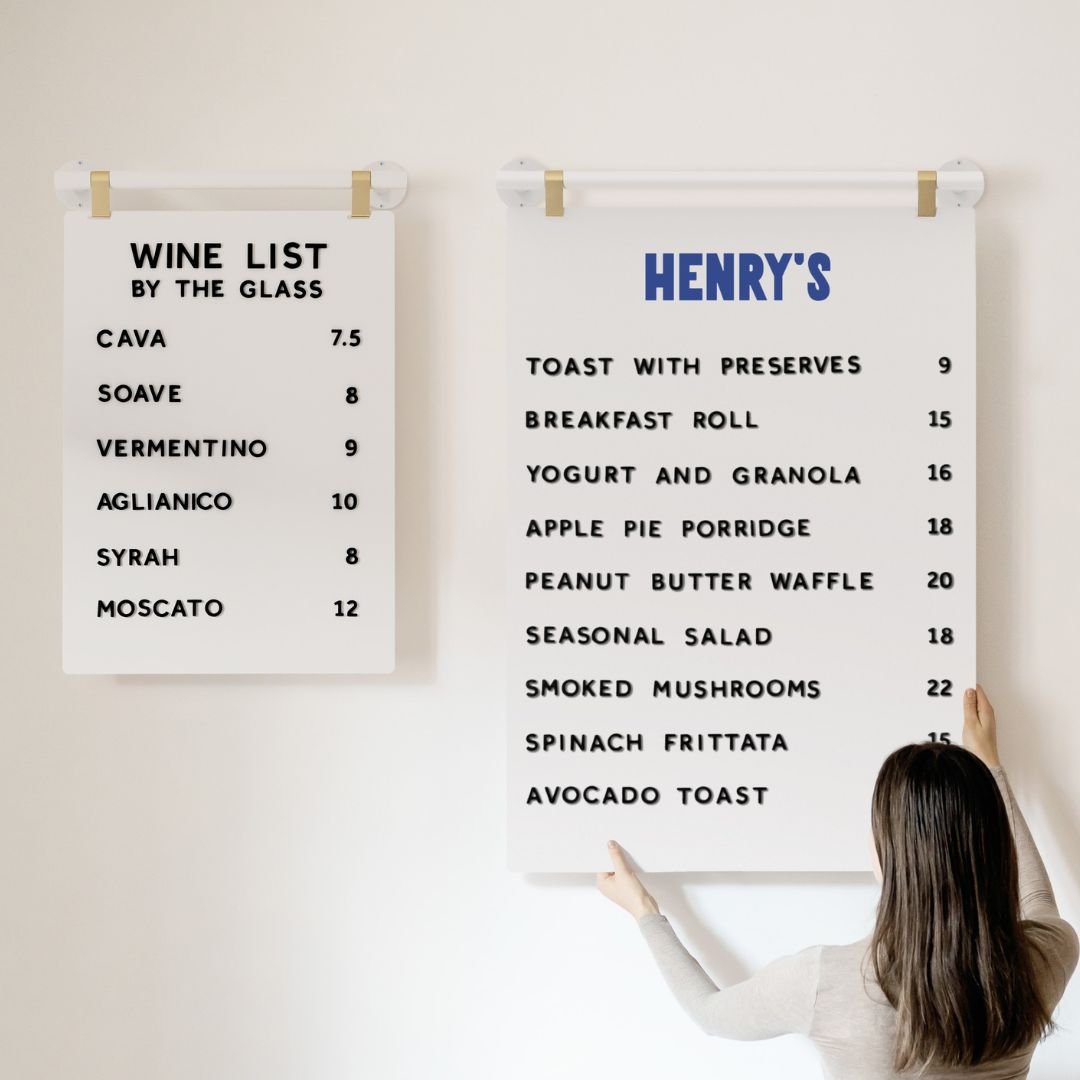
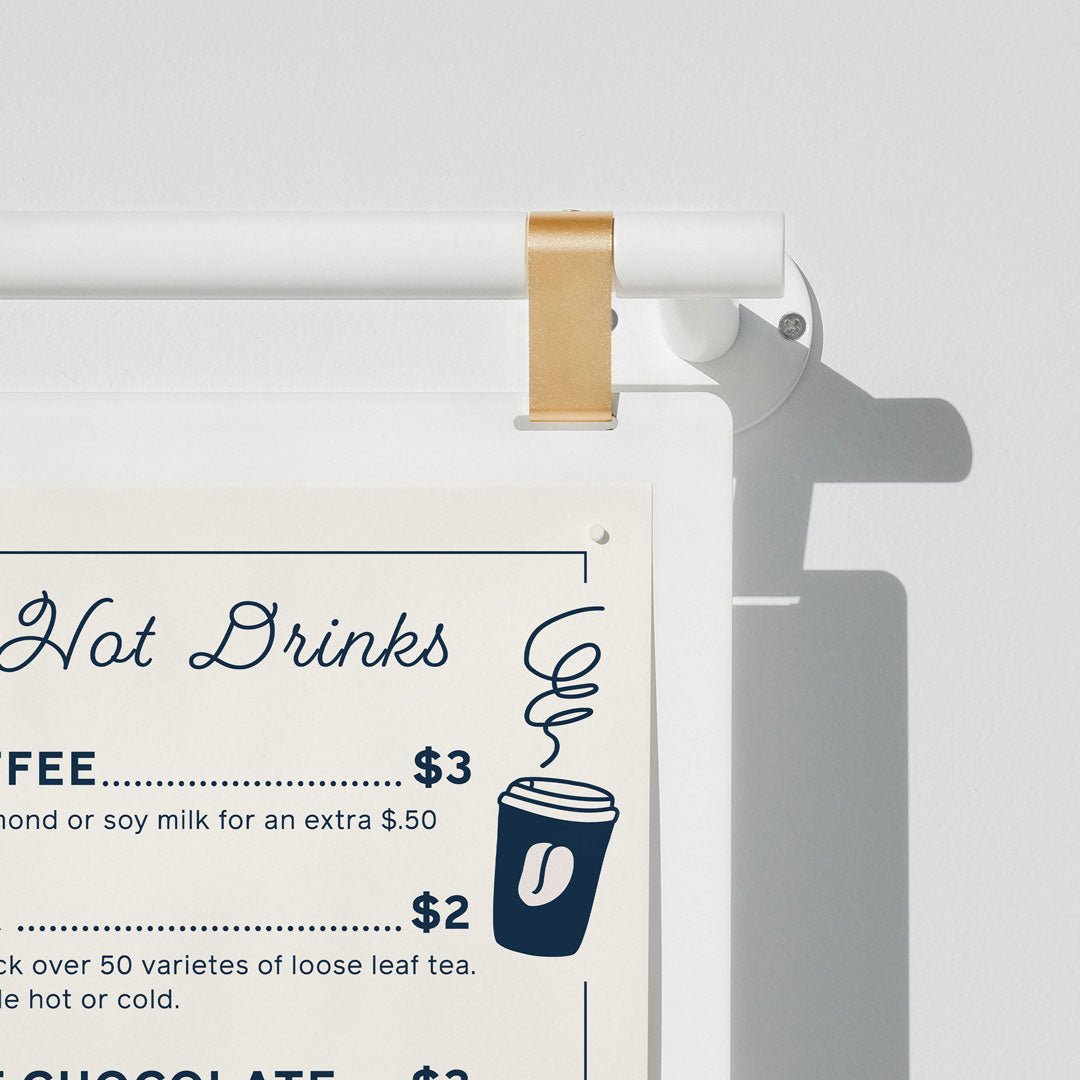
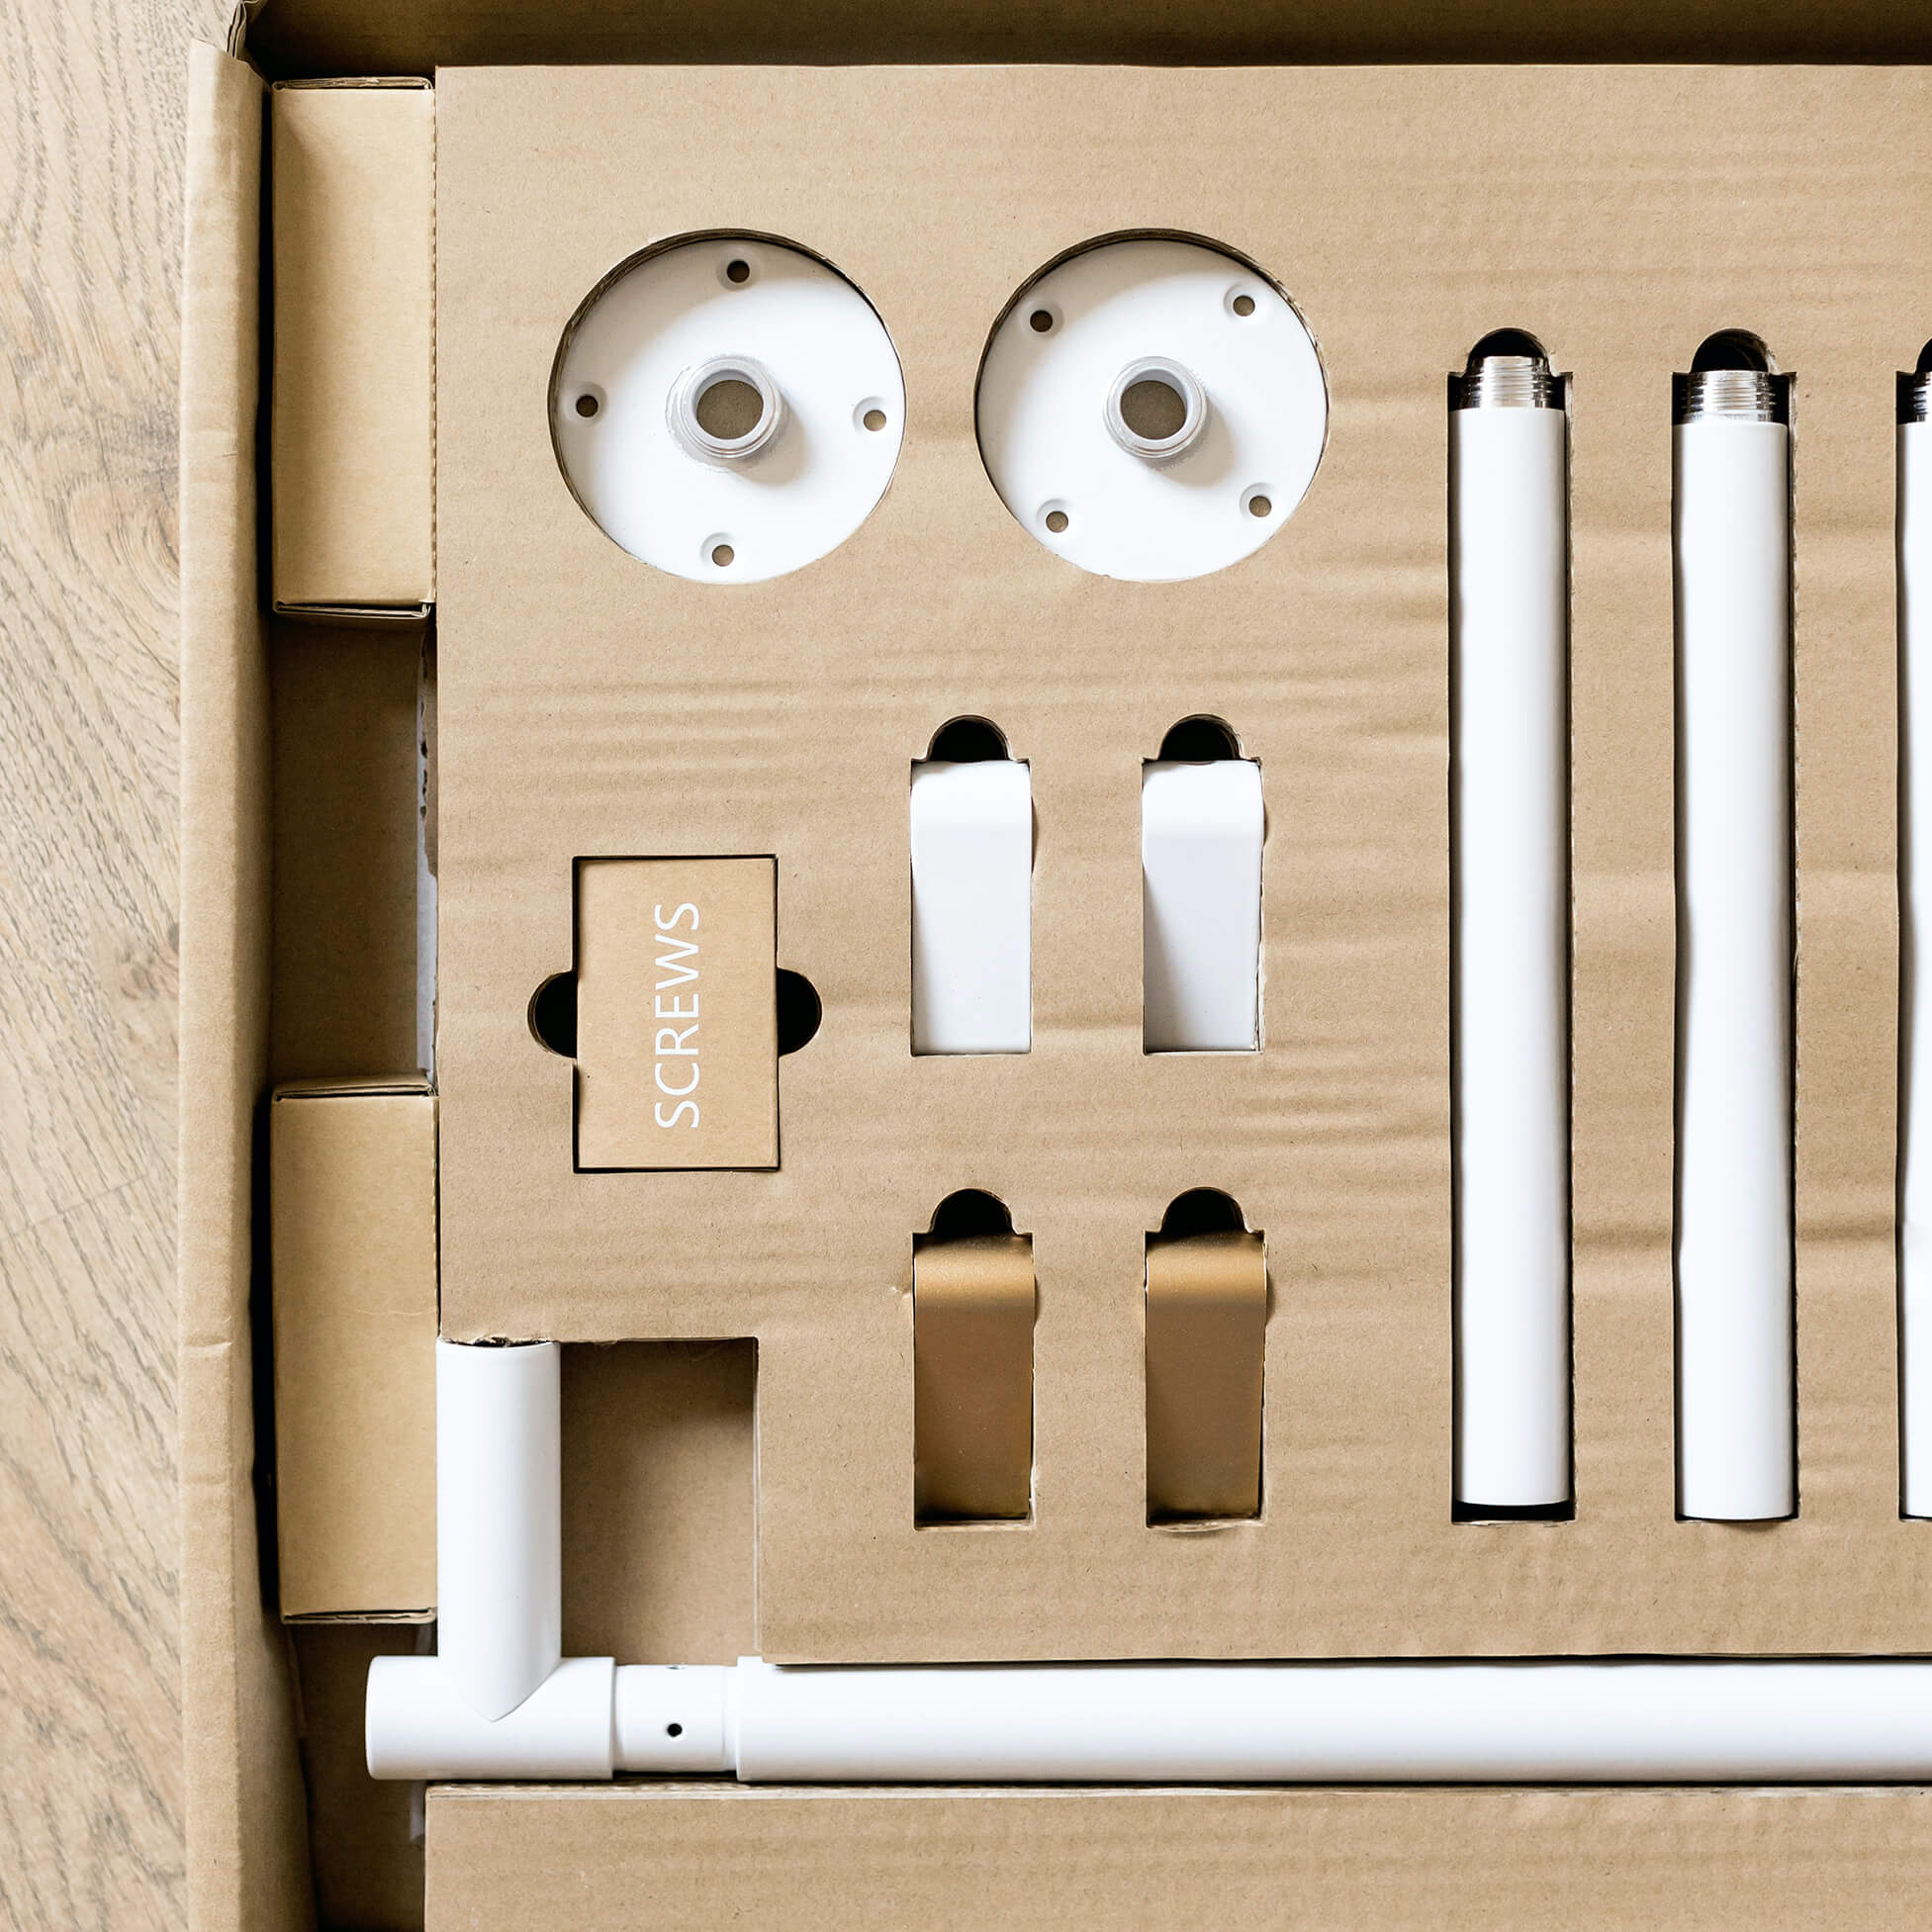
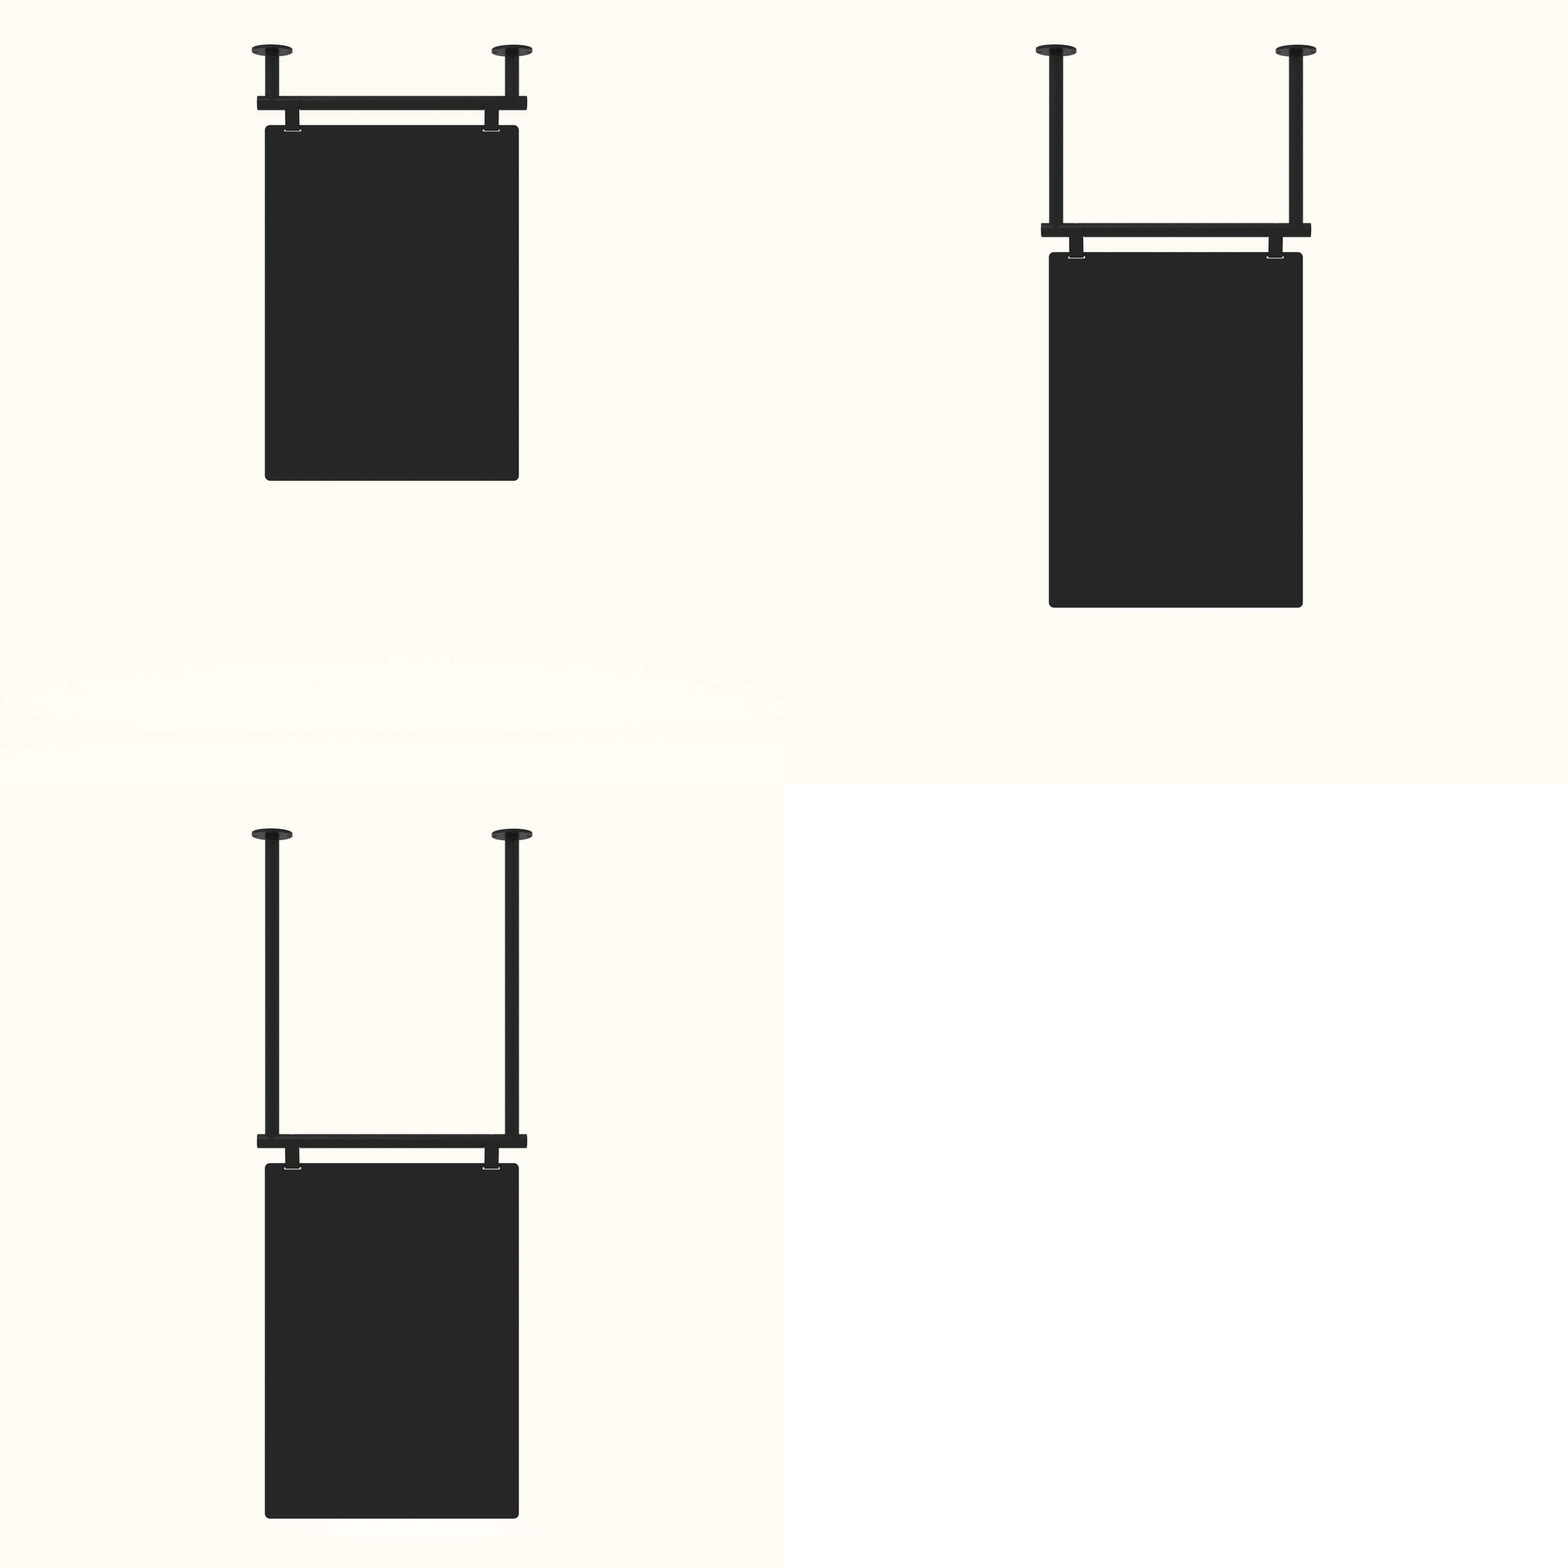
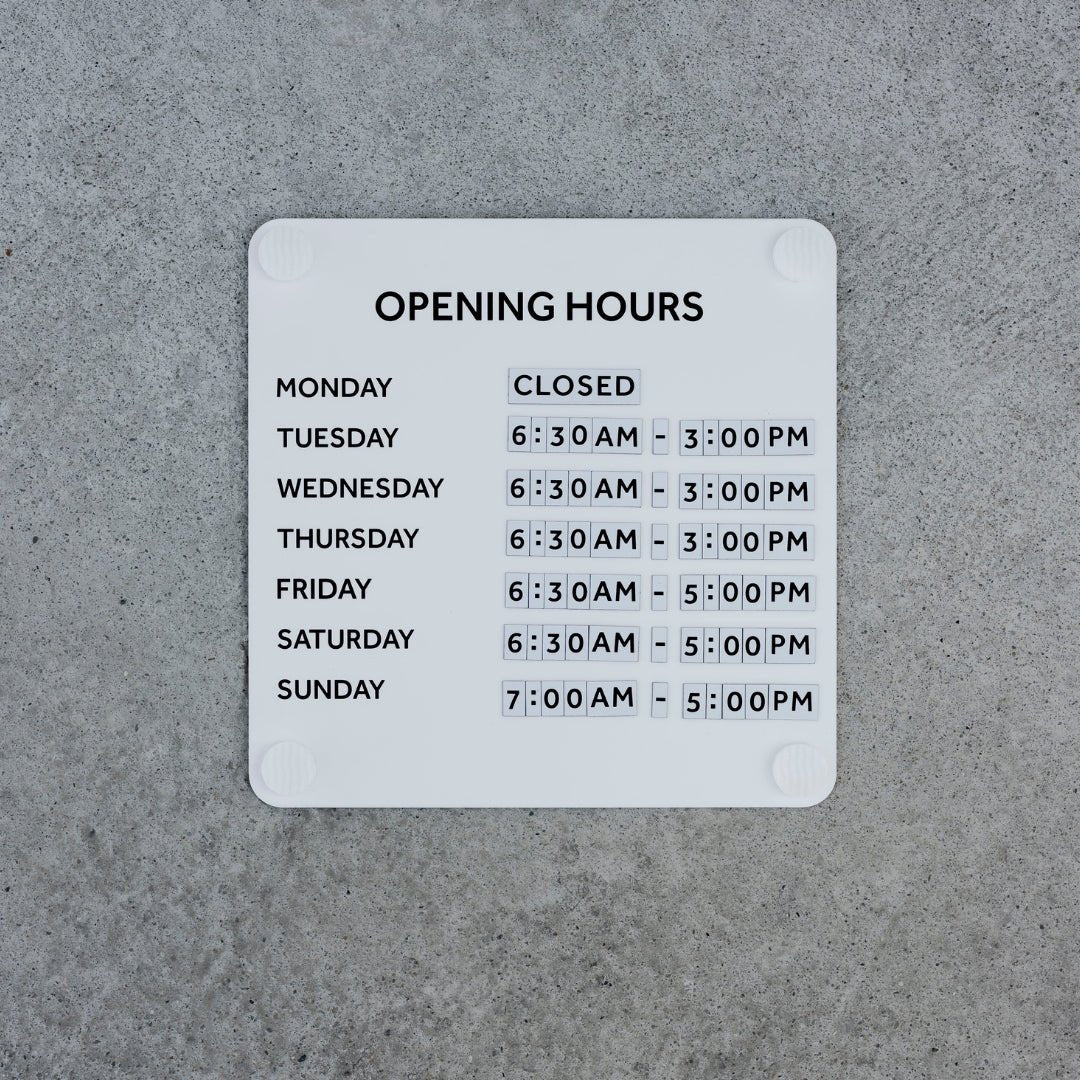
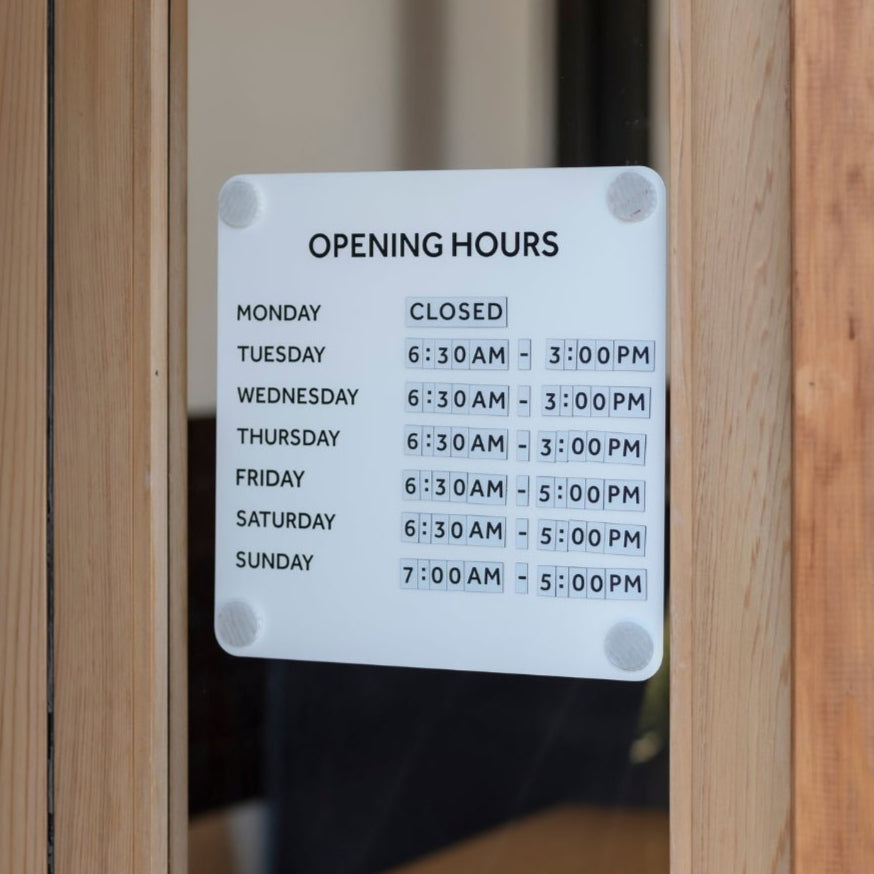
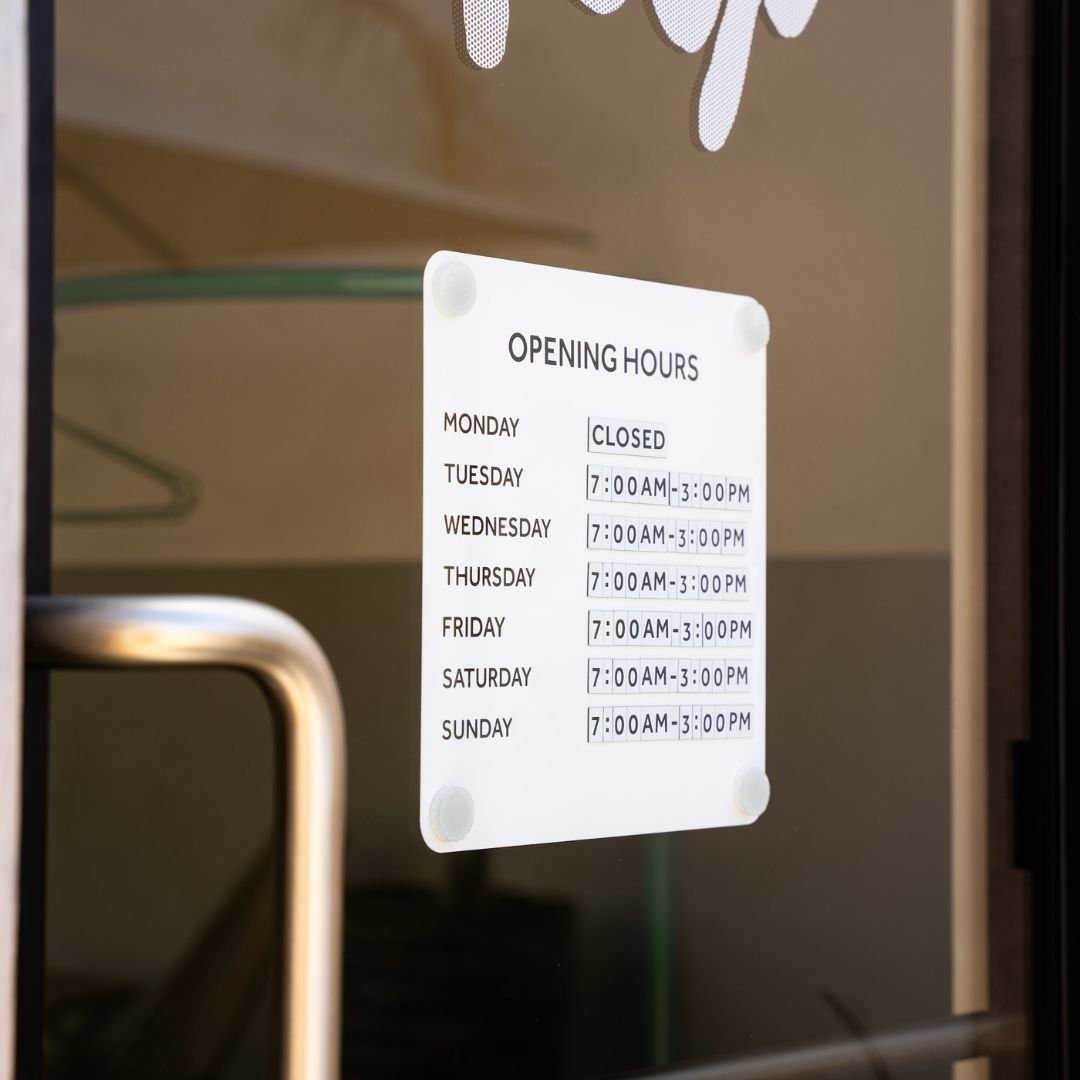
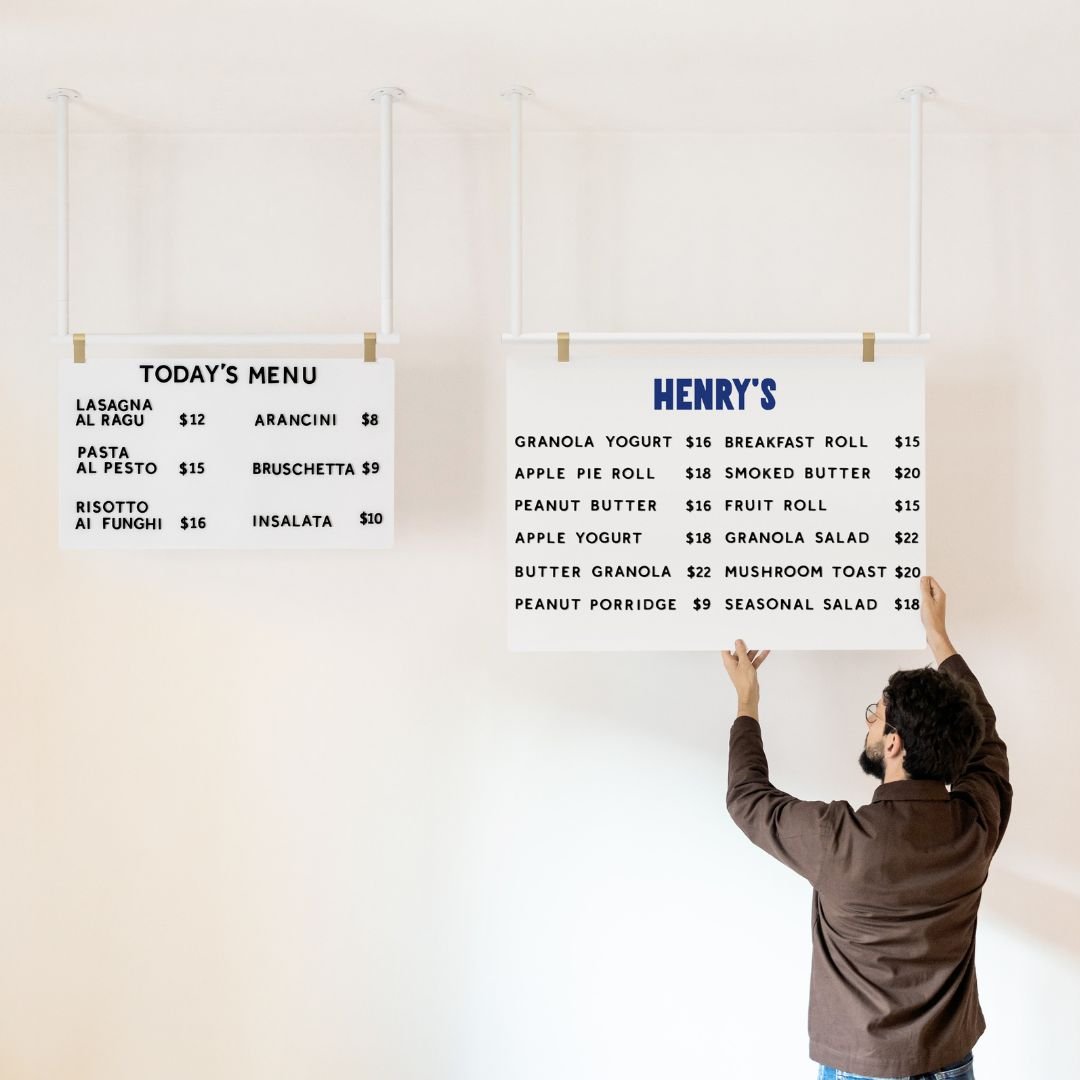
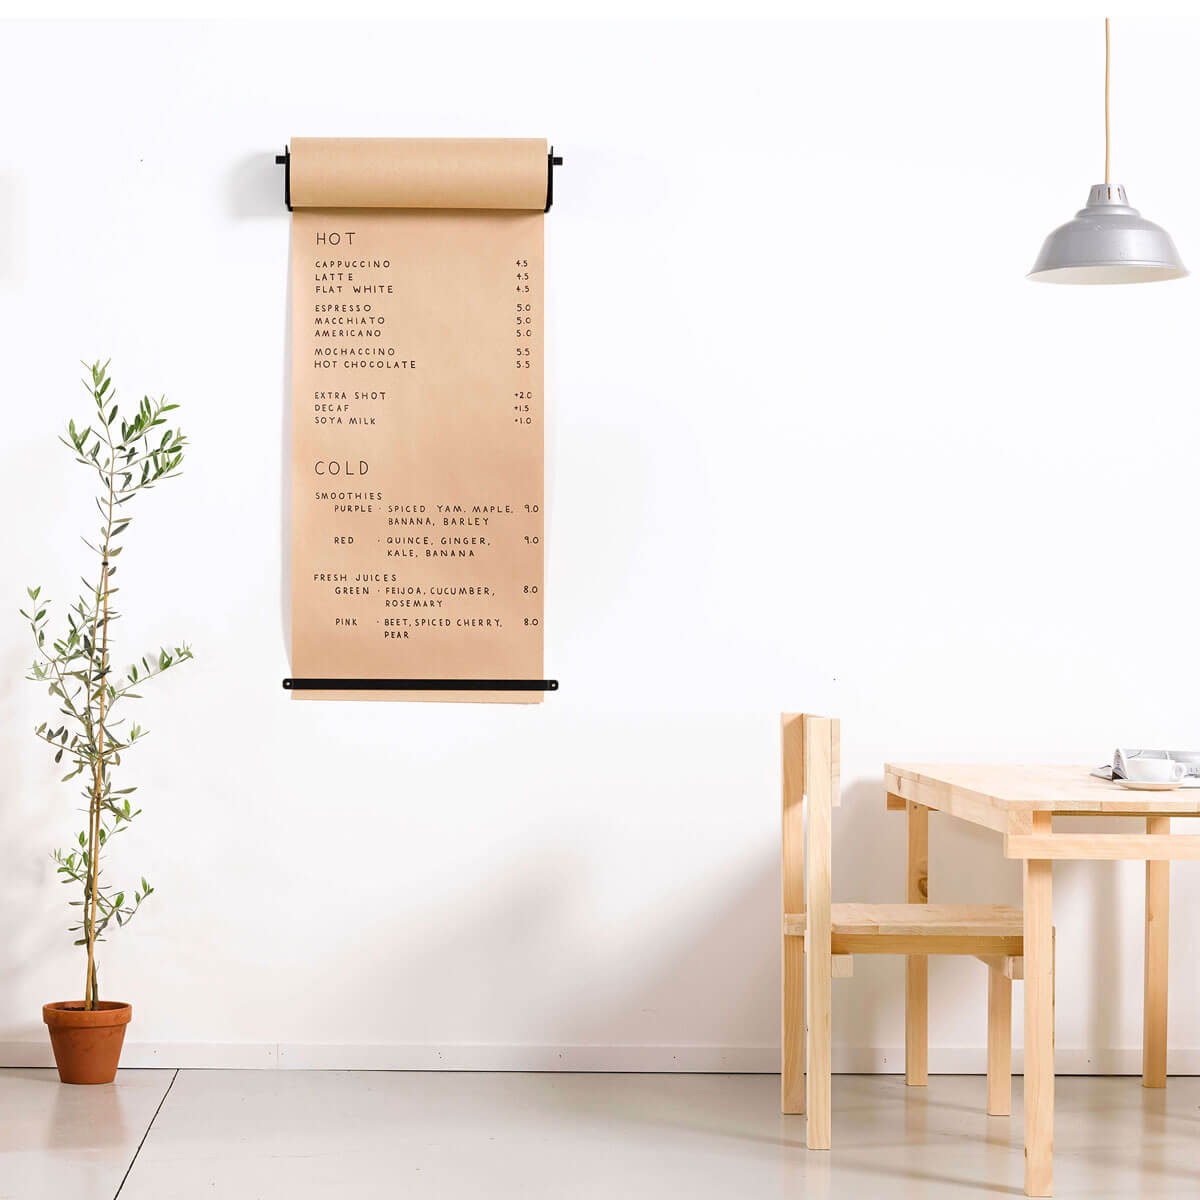
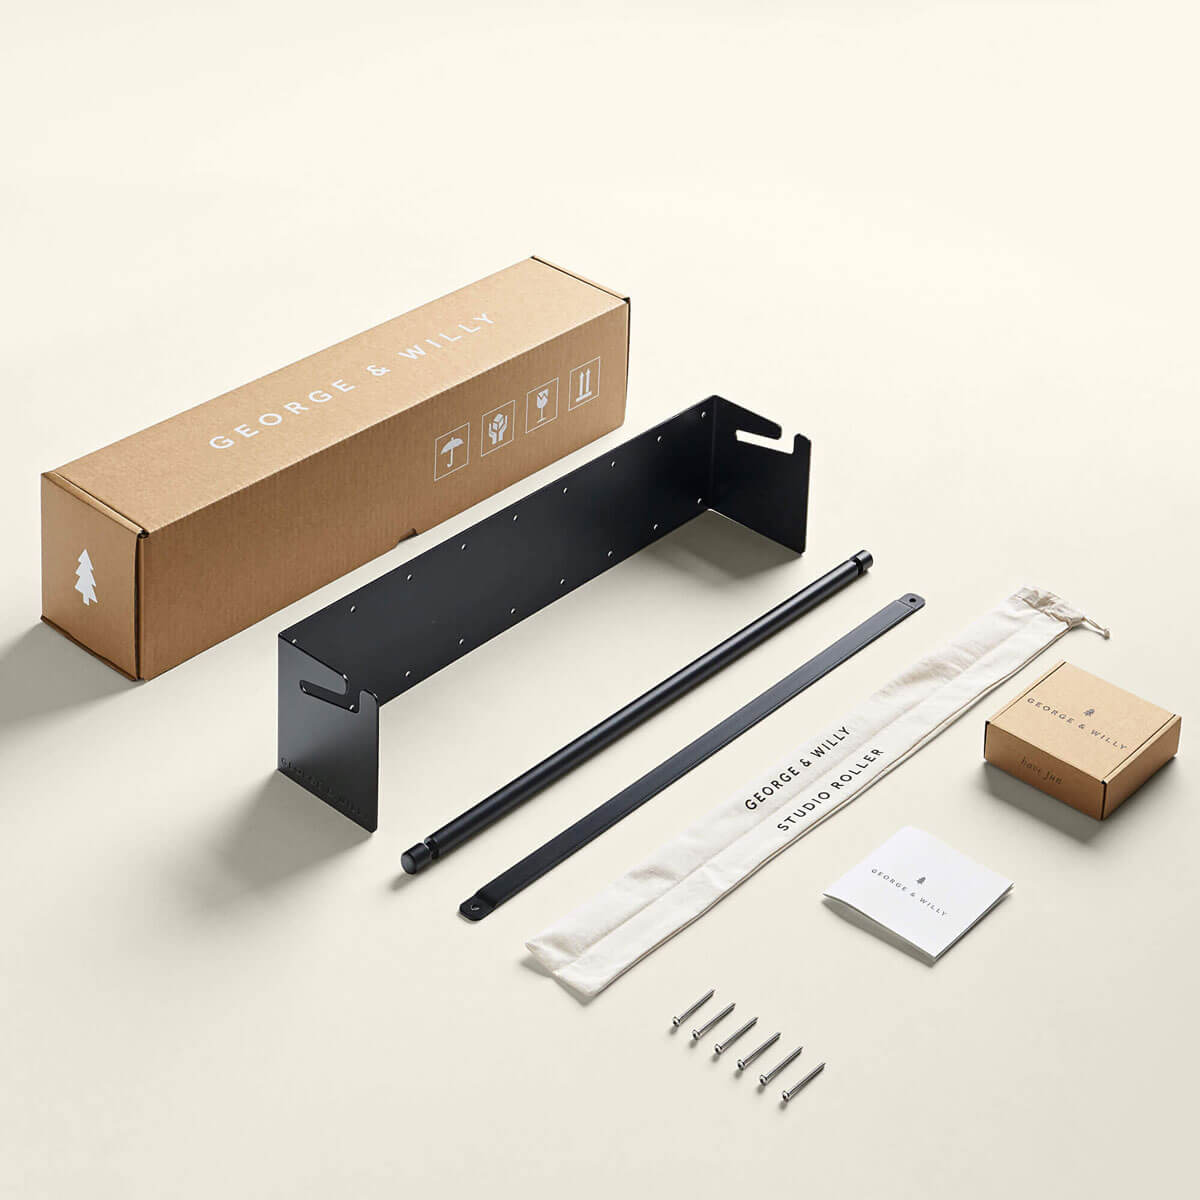
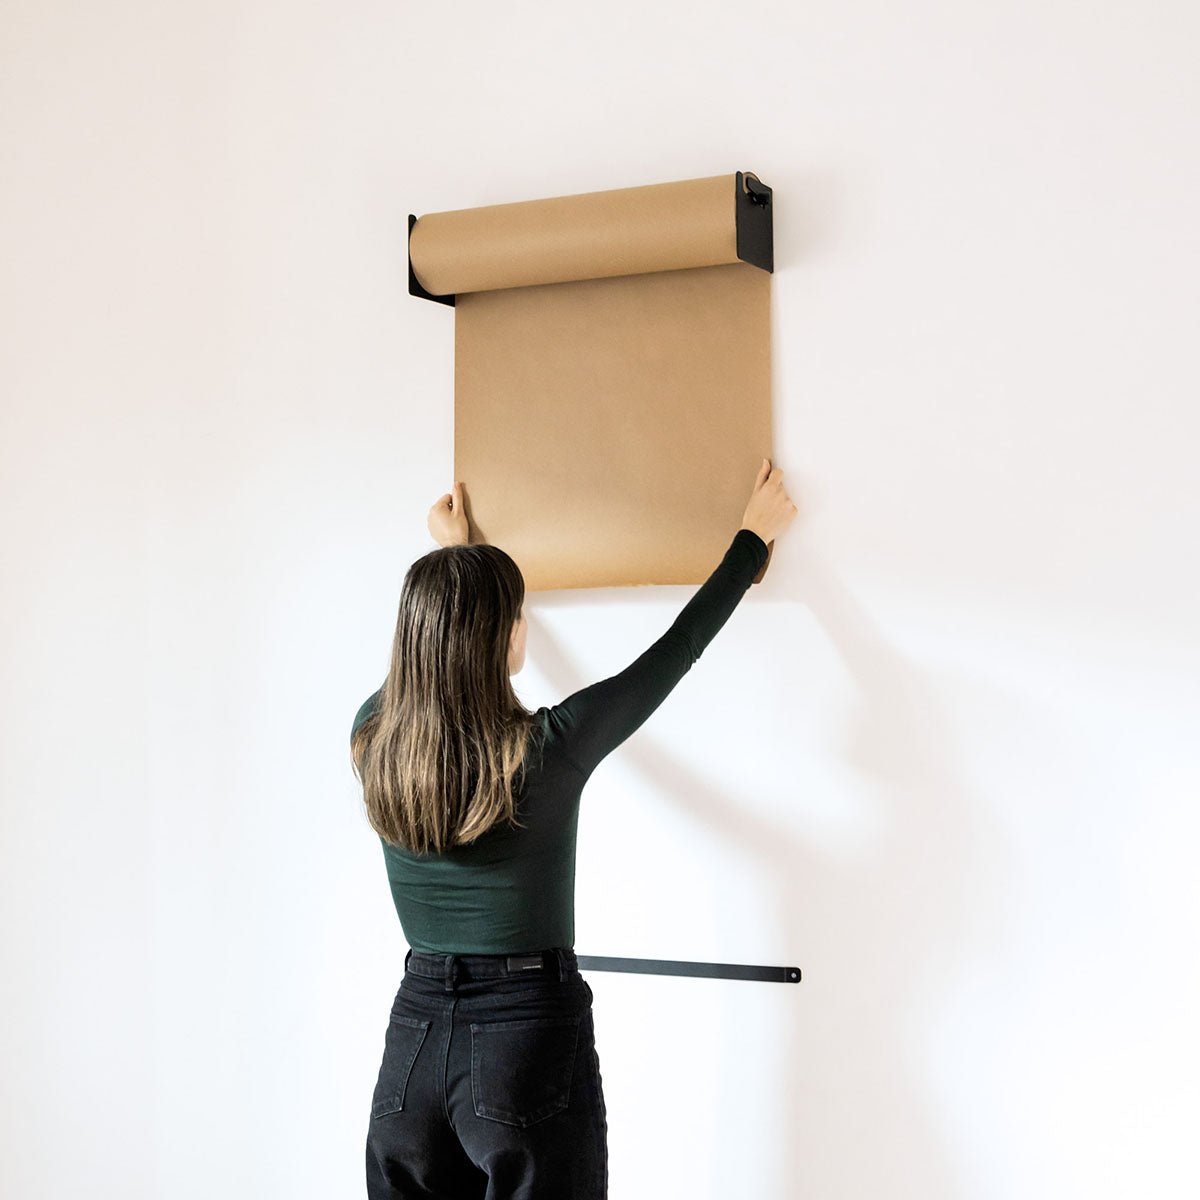
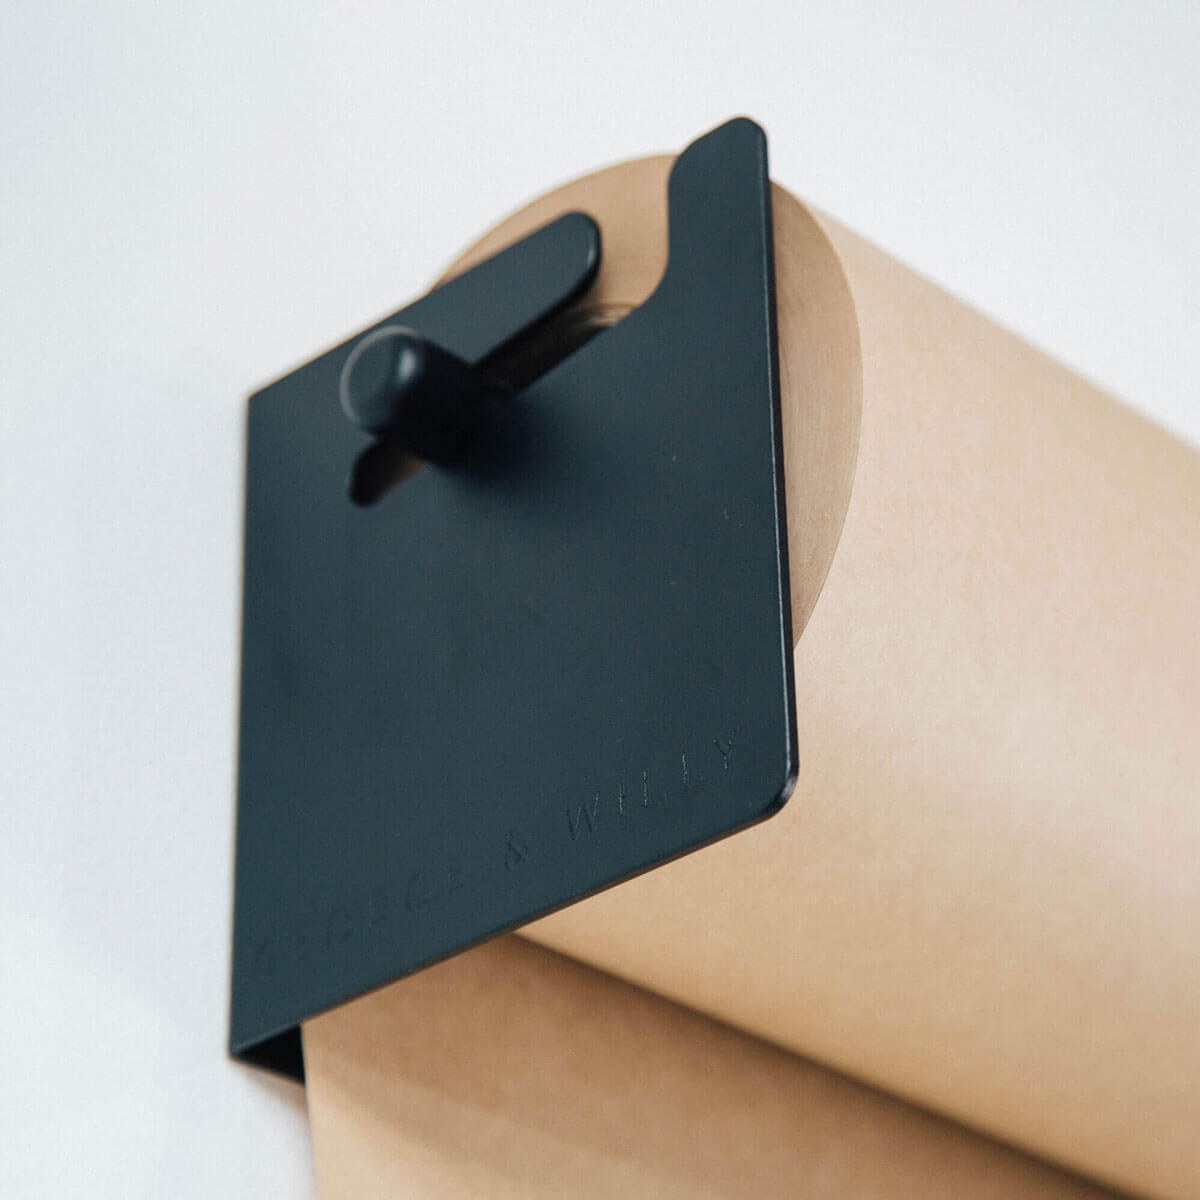
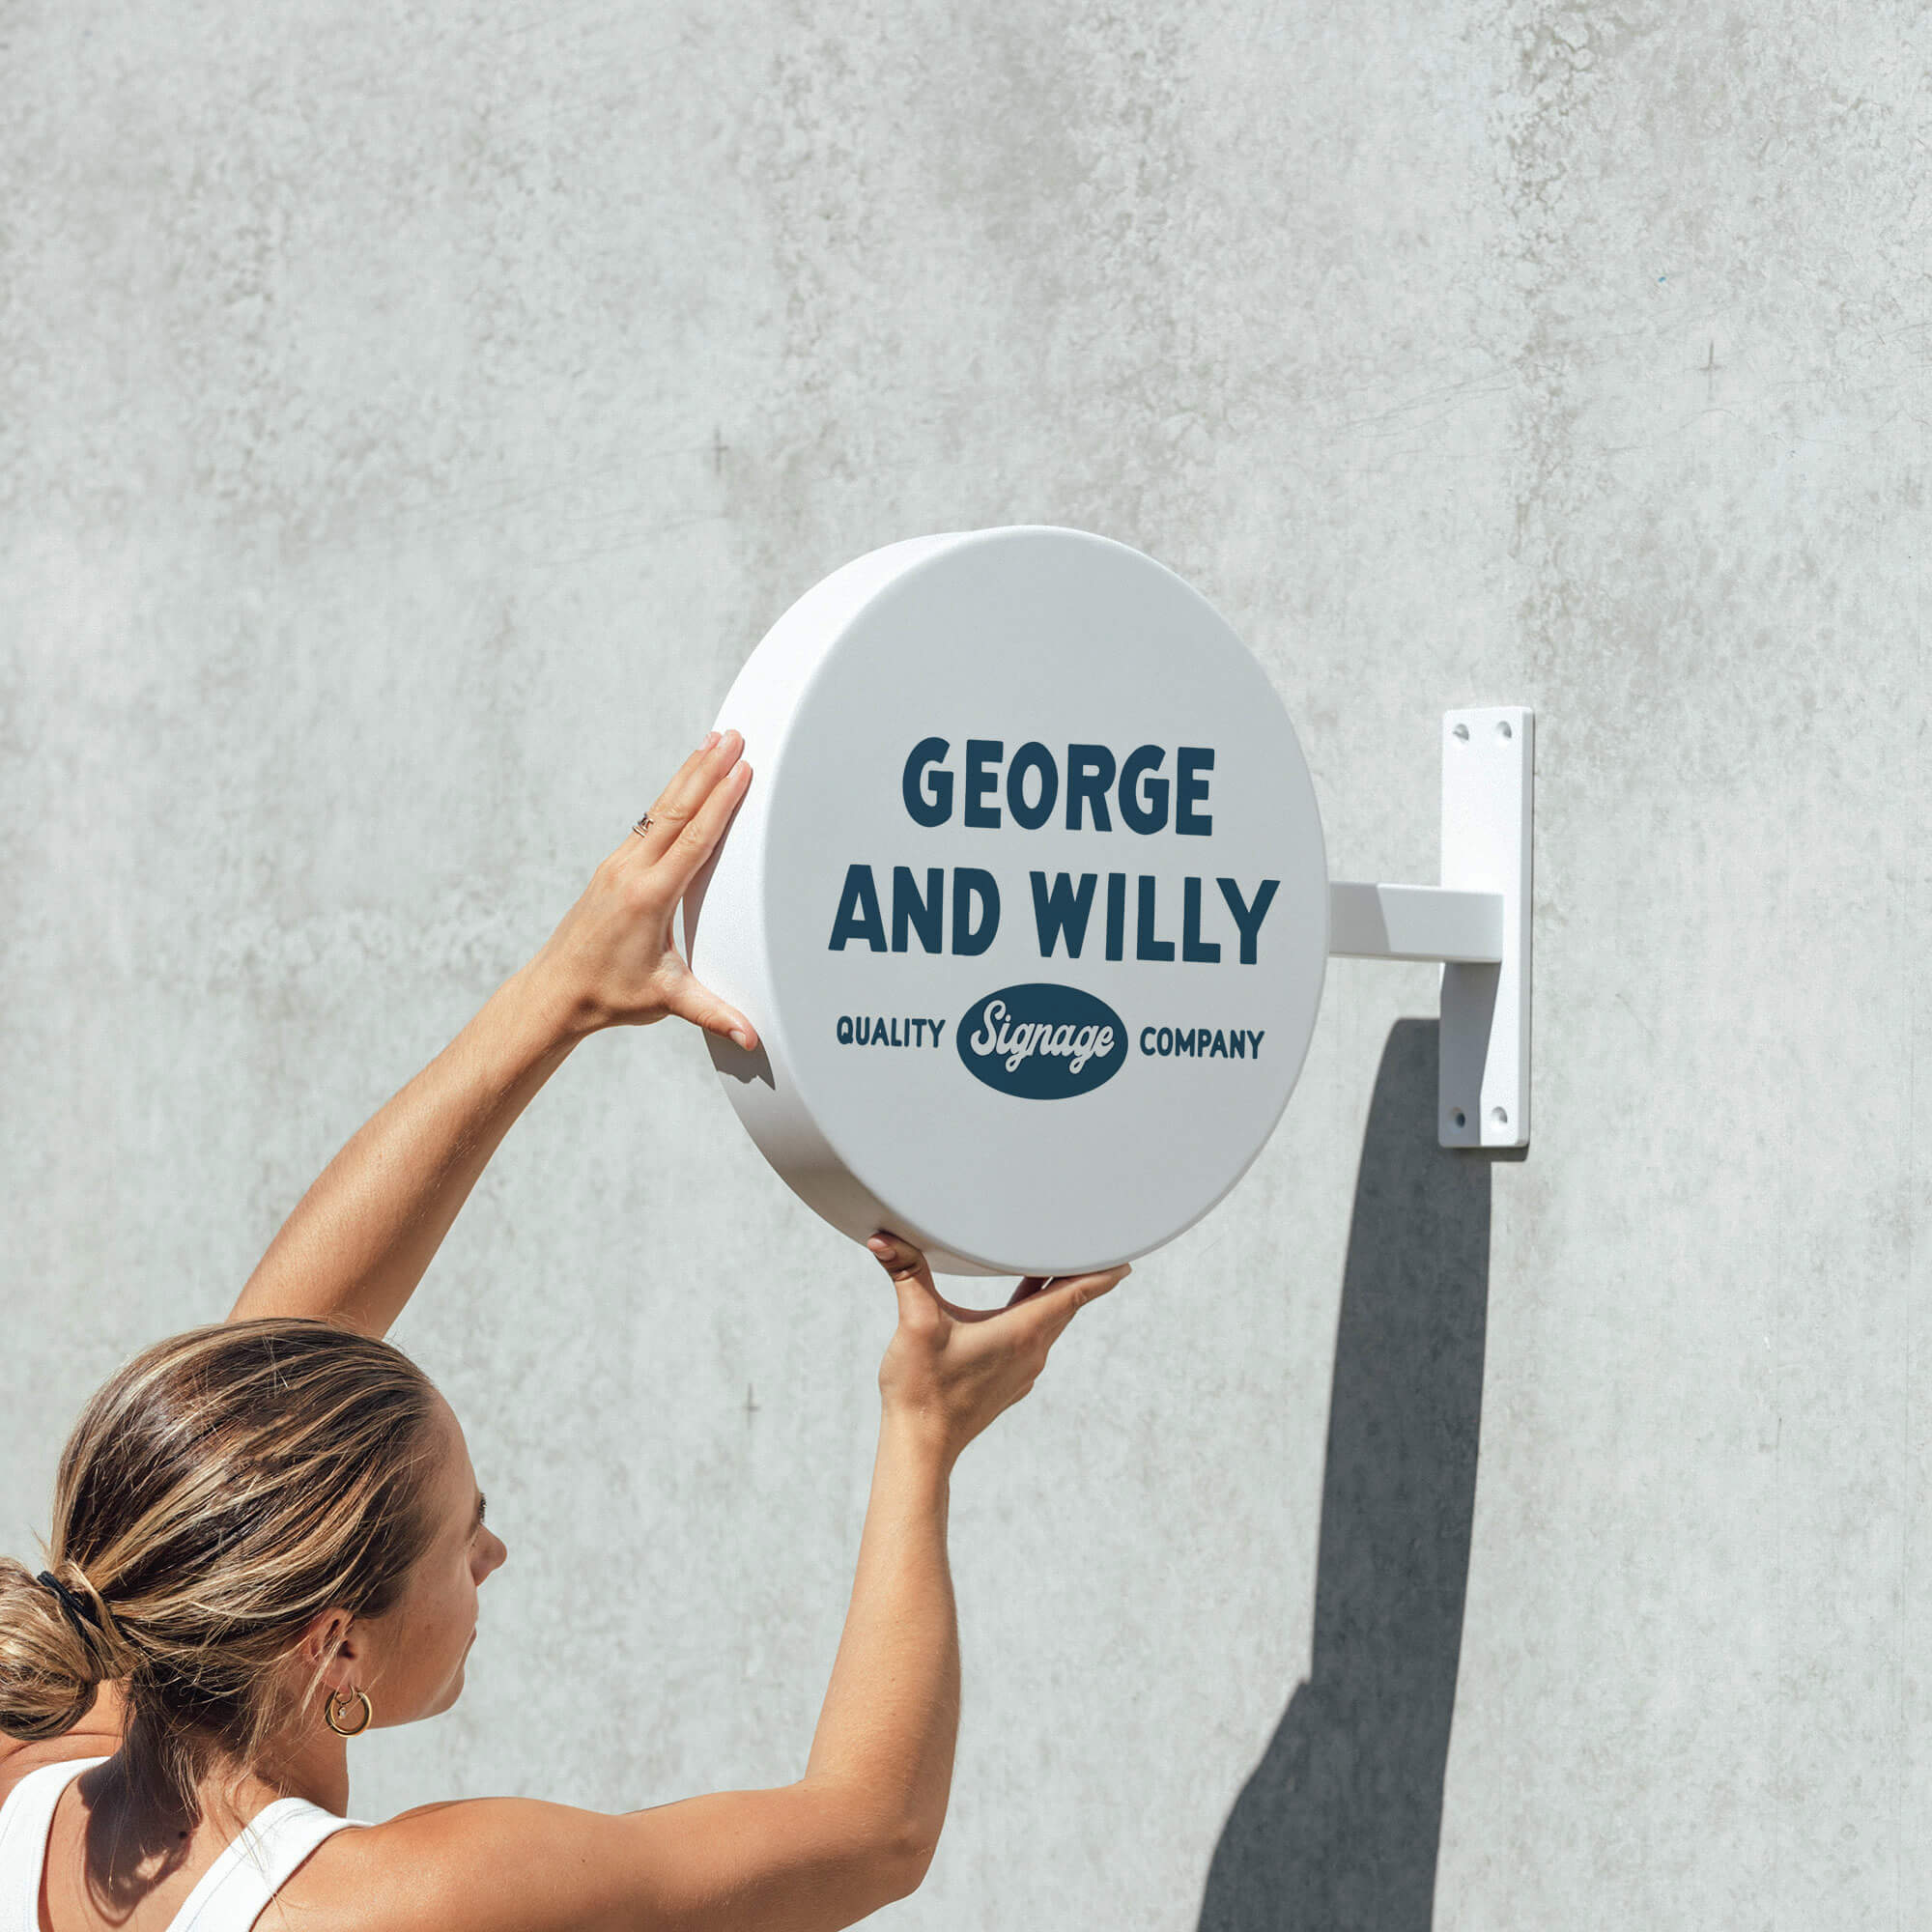
Tiling can be a great way to freshen up the look of any room in your home or business, but if you want to add a Menu Display, Wall Sign or Wooden Pegboard to your tiled walls, you'll need to know how to drill into the tile without it breaking. This tutorial will show you the best practices for drilling into tile safely and successfully.
Preparing the Tile
Before you can start drilling, you'll need to make sure the tile is properly prepared. Clean the tile with a damp cloth or sponge to remove any dirt or debris. Mark the spot where you will be drilling with a pencil or a wax crayon. This will help to ensure that you drill into the correct spot. If you need your holes to line up, for example for one of our rail menu displays, use a spirit level to ensure your holes are straight.

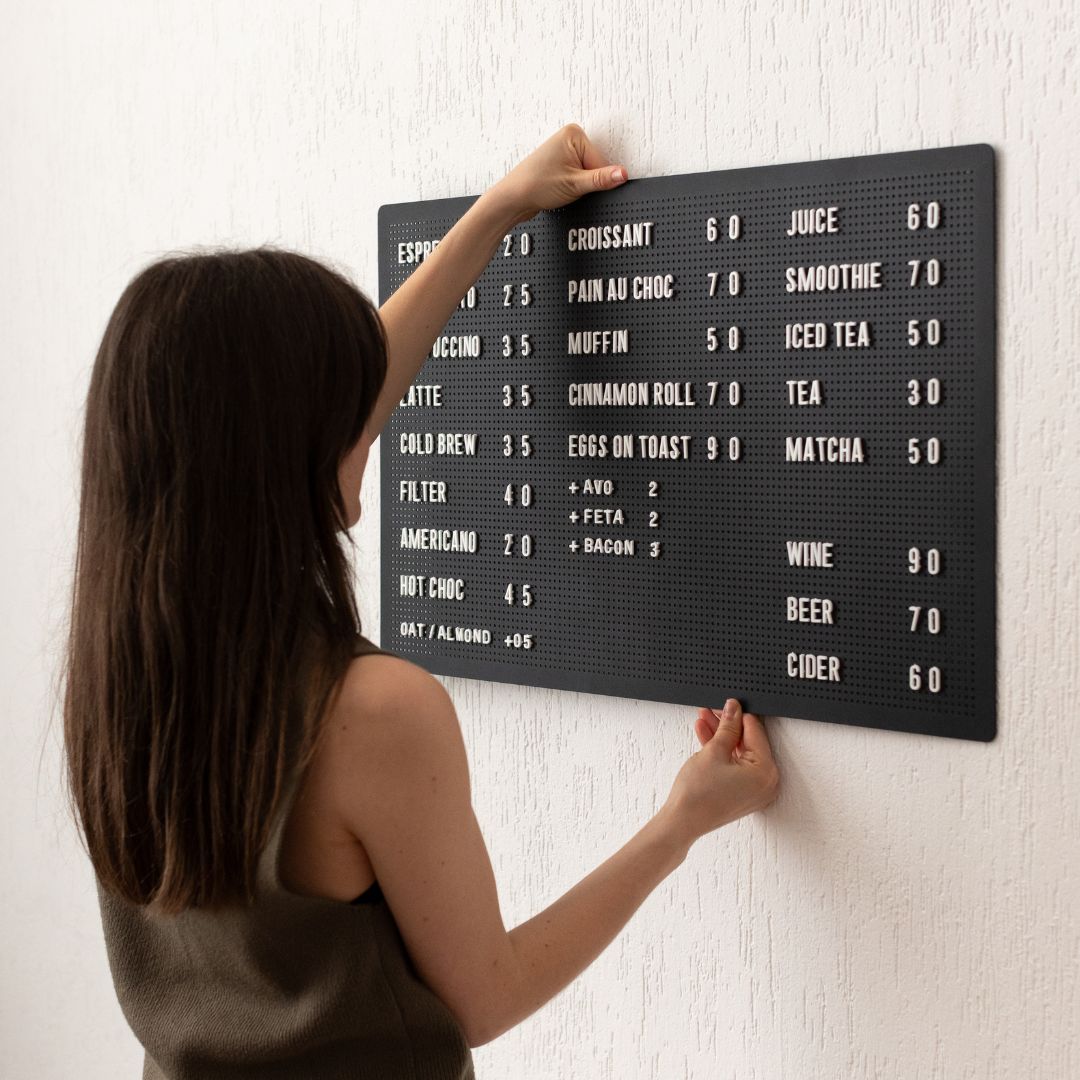
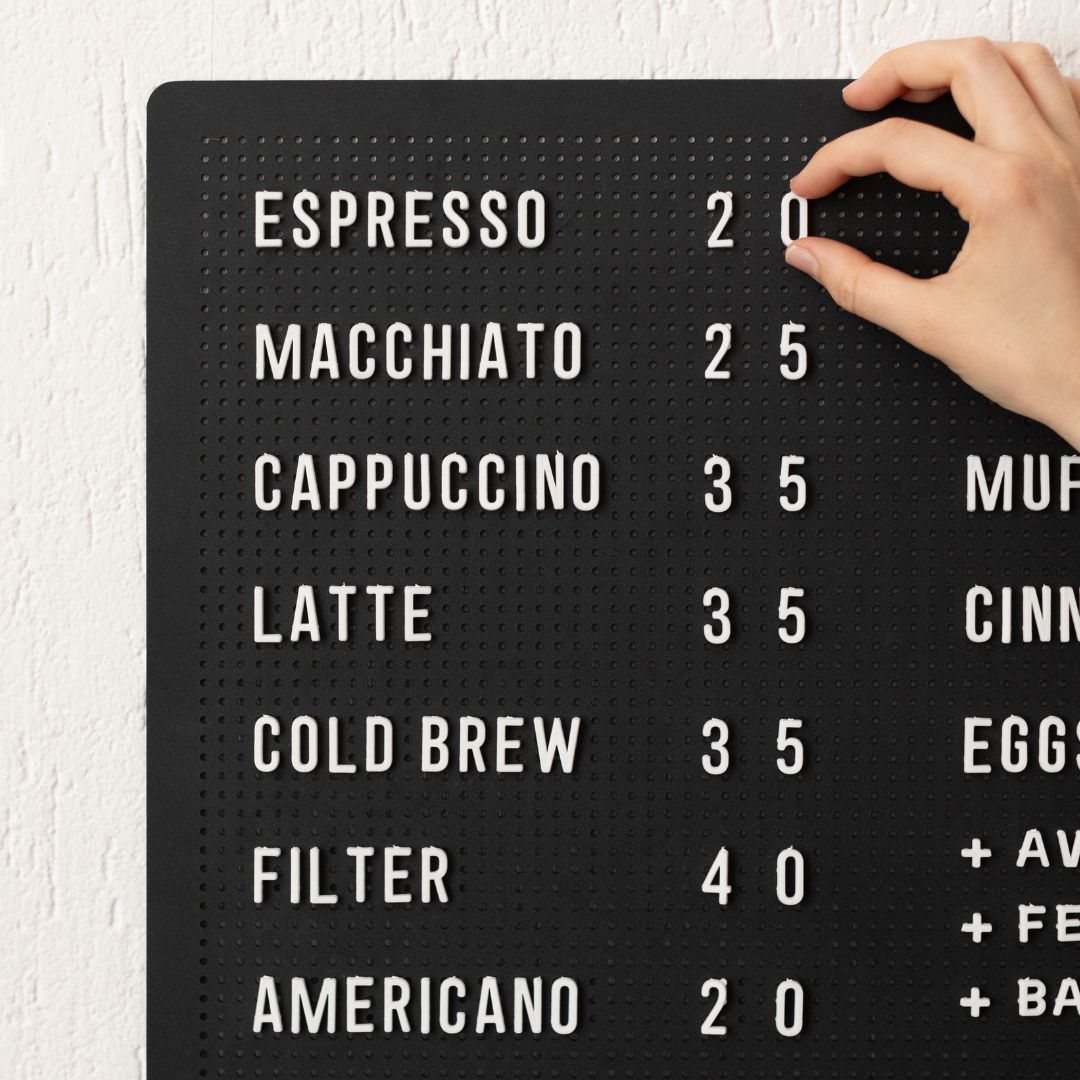
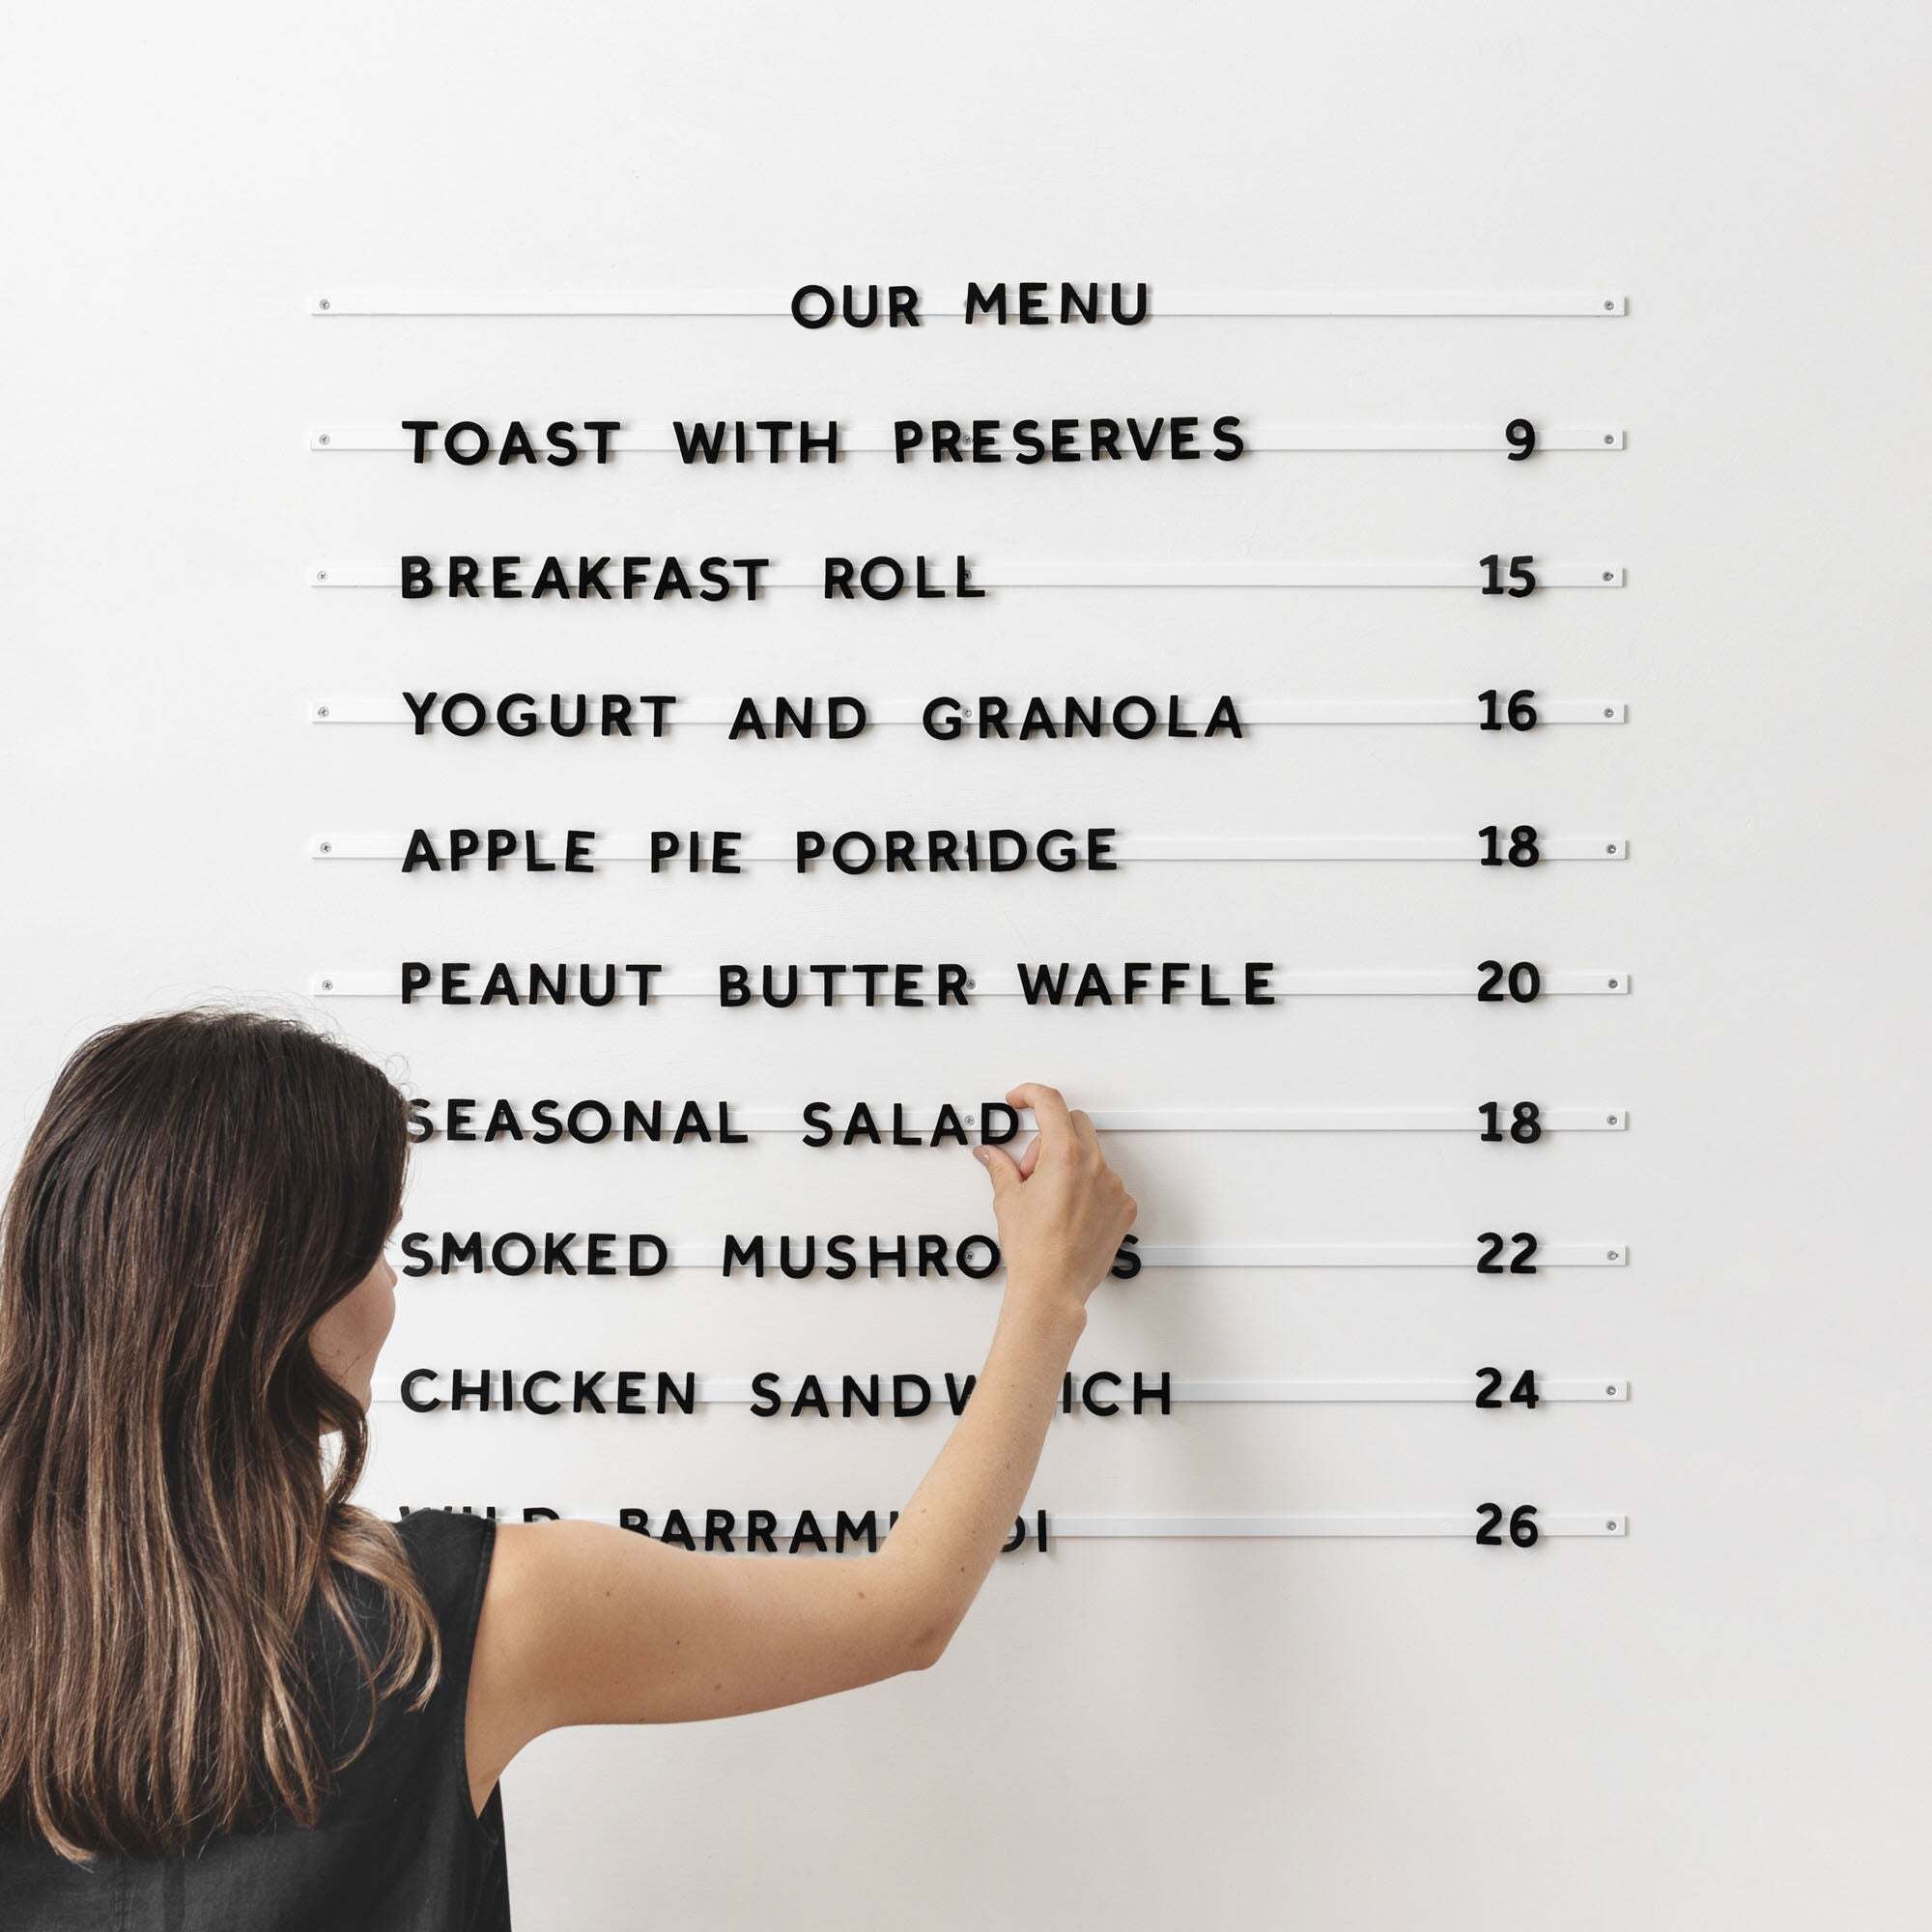
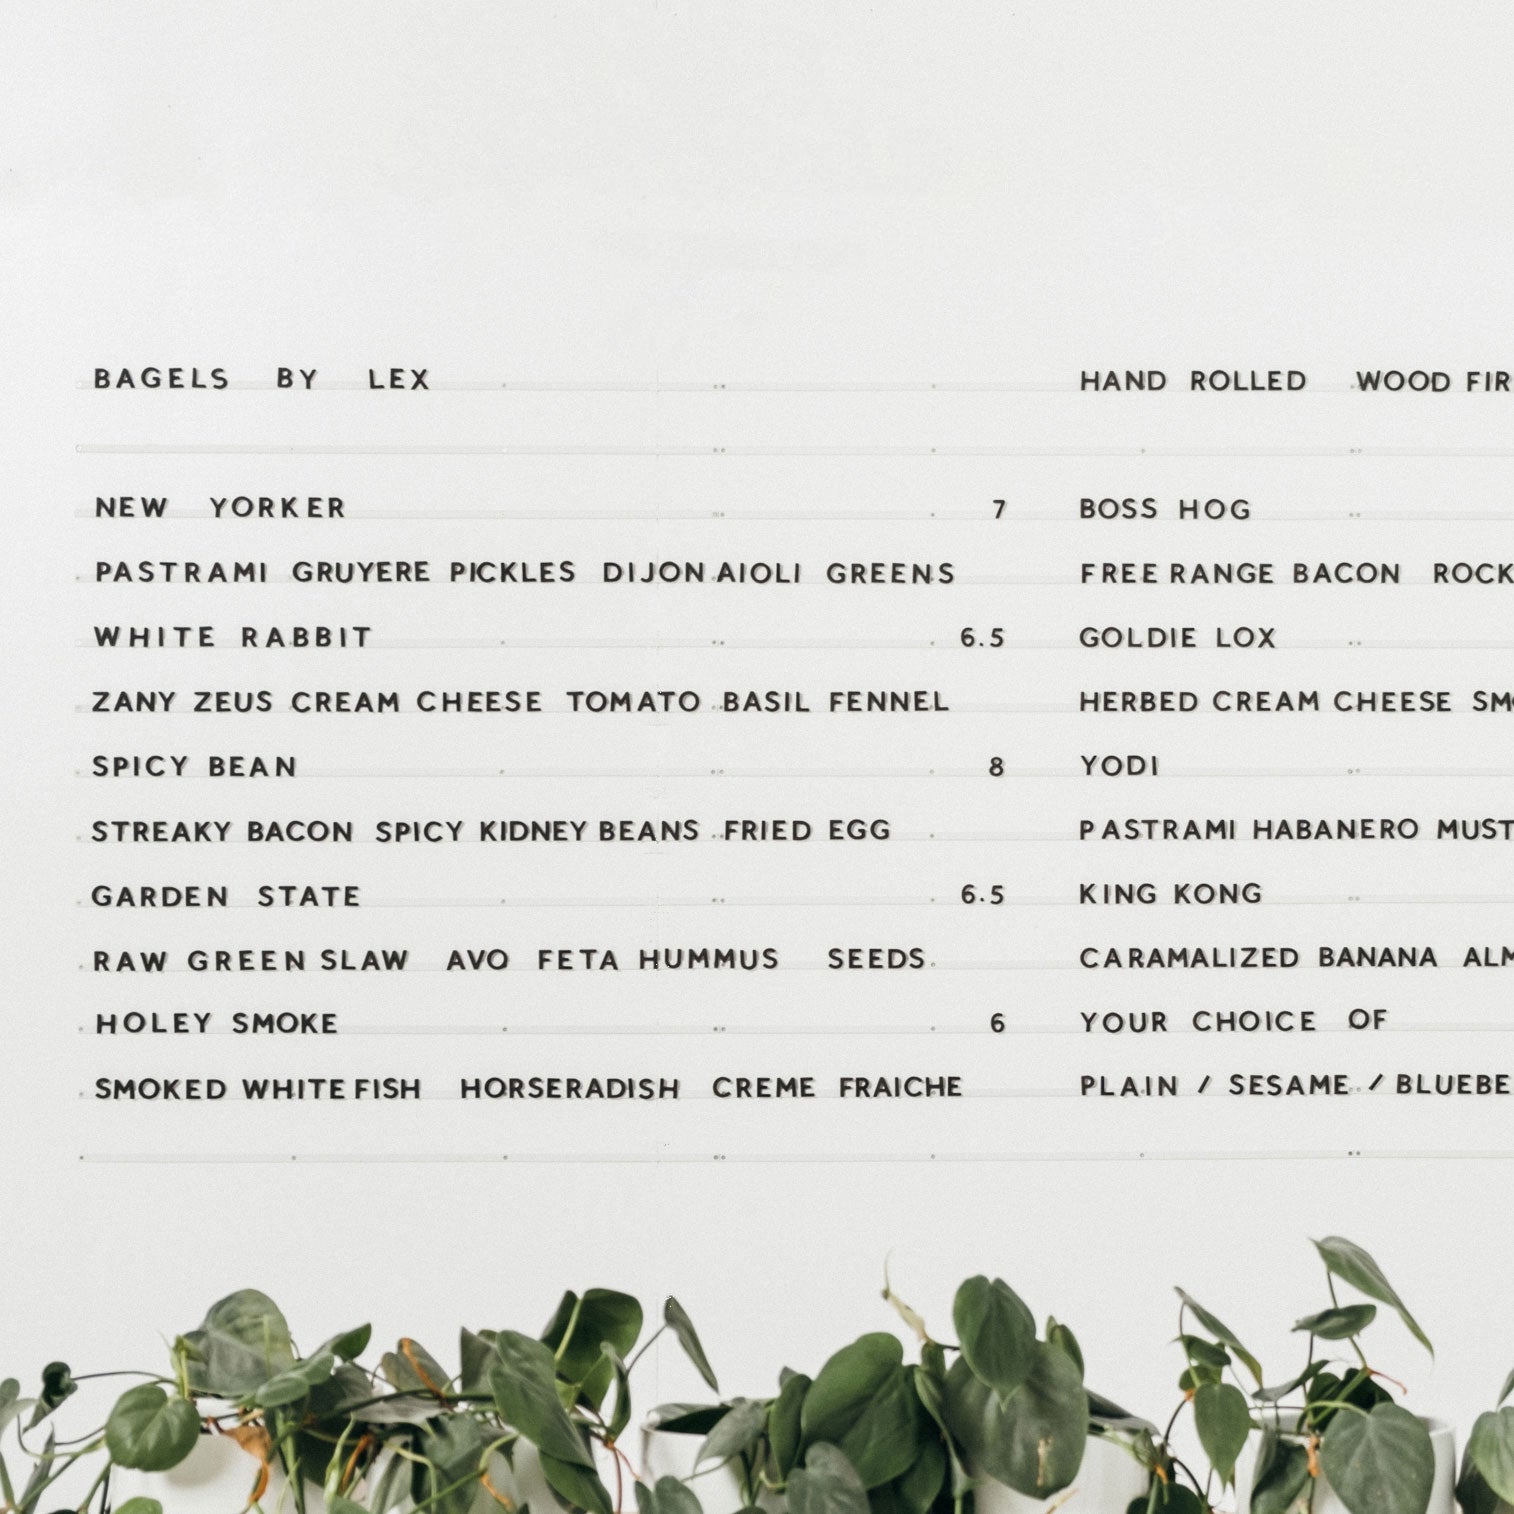
The Wooden Letter Board by @andrewwelchphoto
Choosing the Right Drill Bit
The type of drill bit you use is key to drilling into tile without it breaking. A carbide-tipped masonry bit is the best choice for drilling into tile. This type of bit is more expensive than other types, but it will last longer and can cut through the tile more easily.

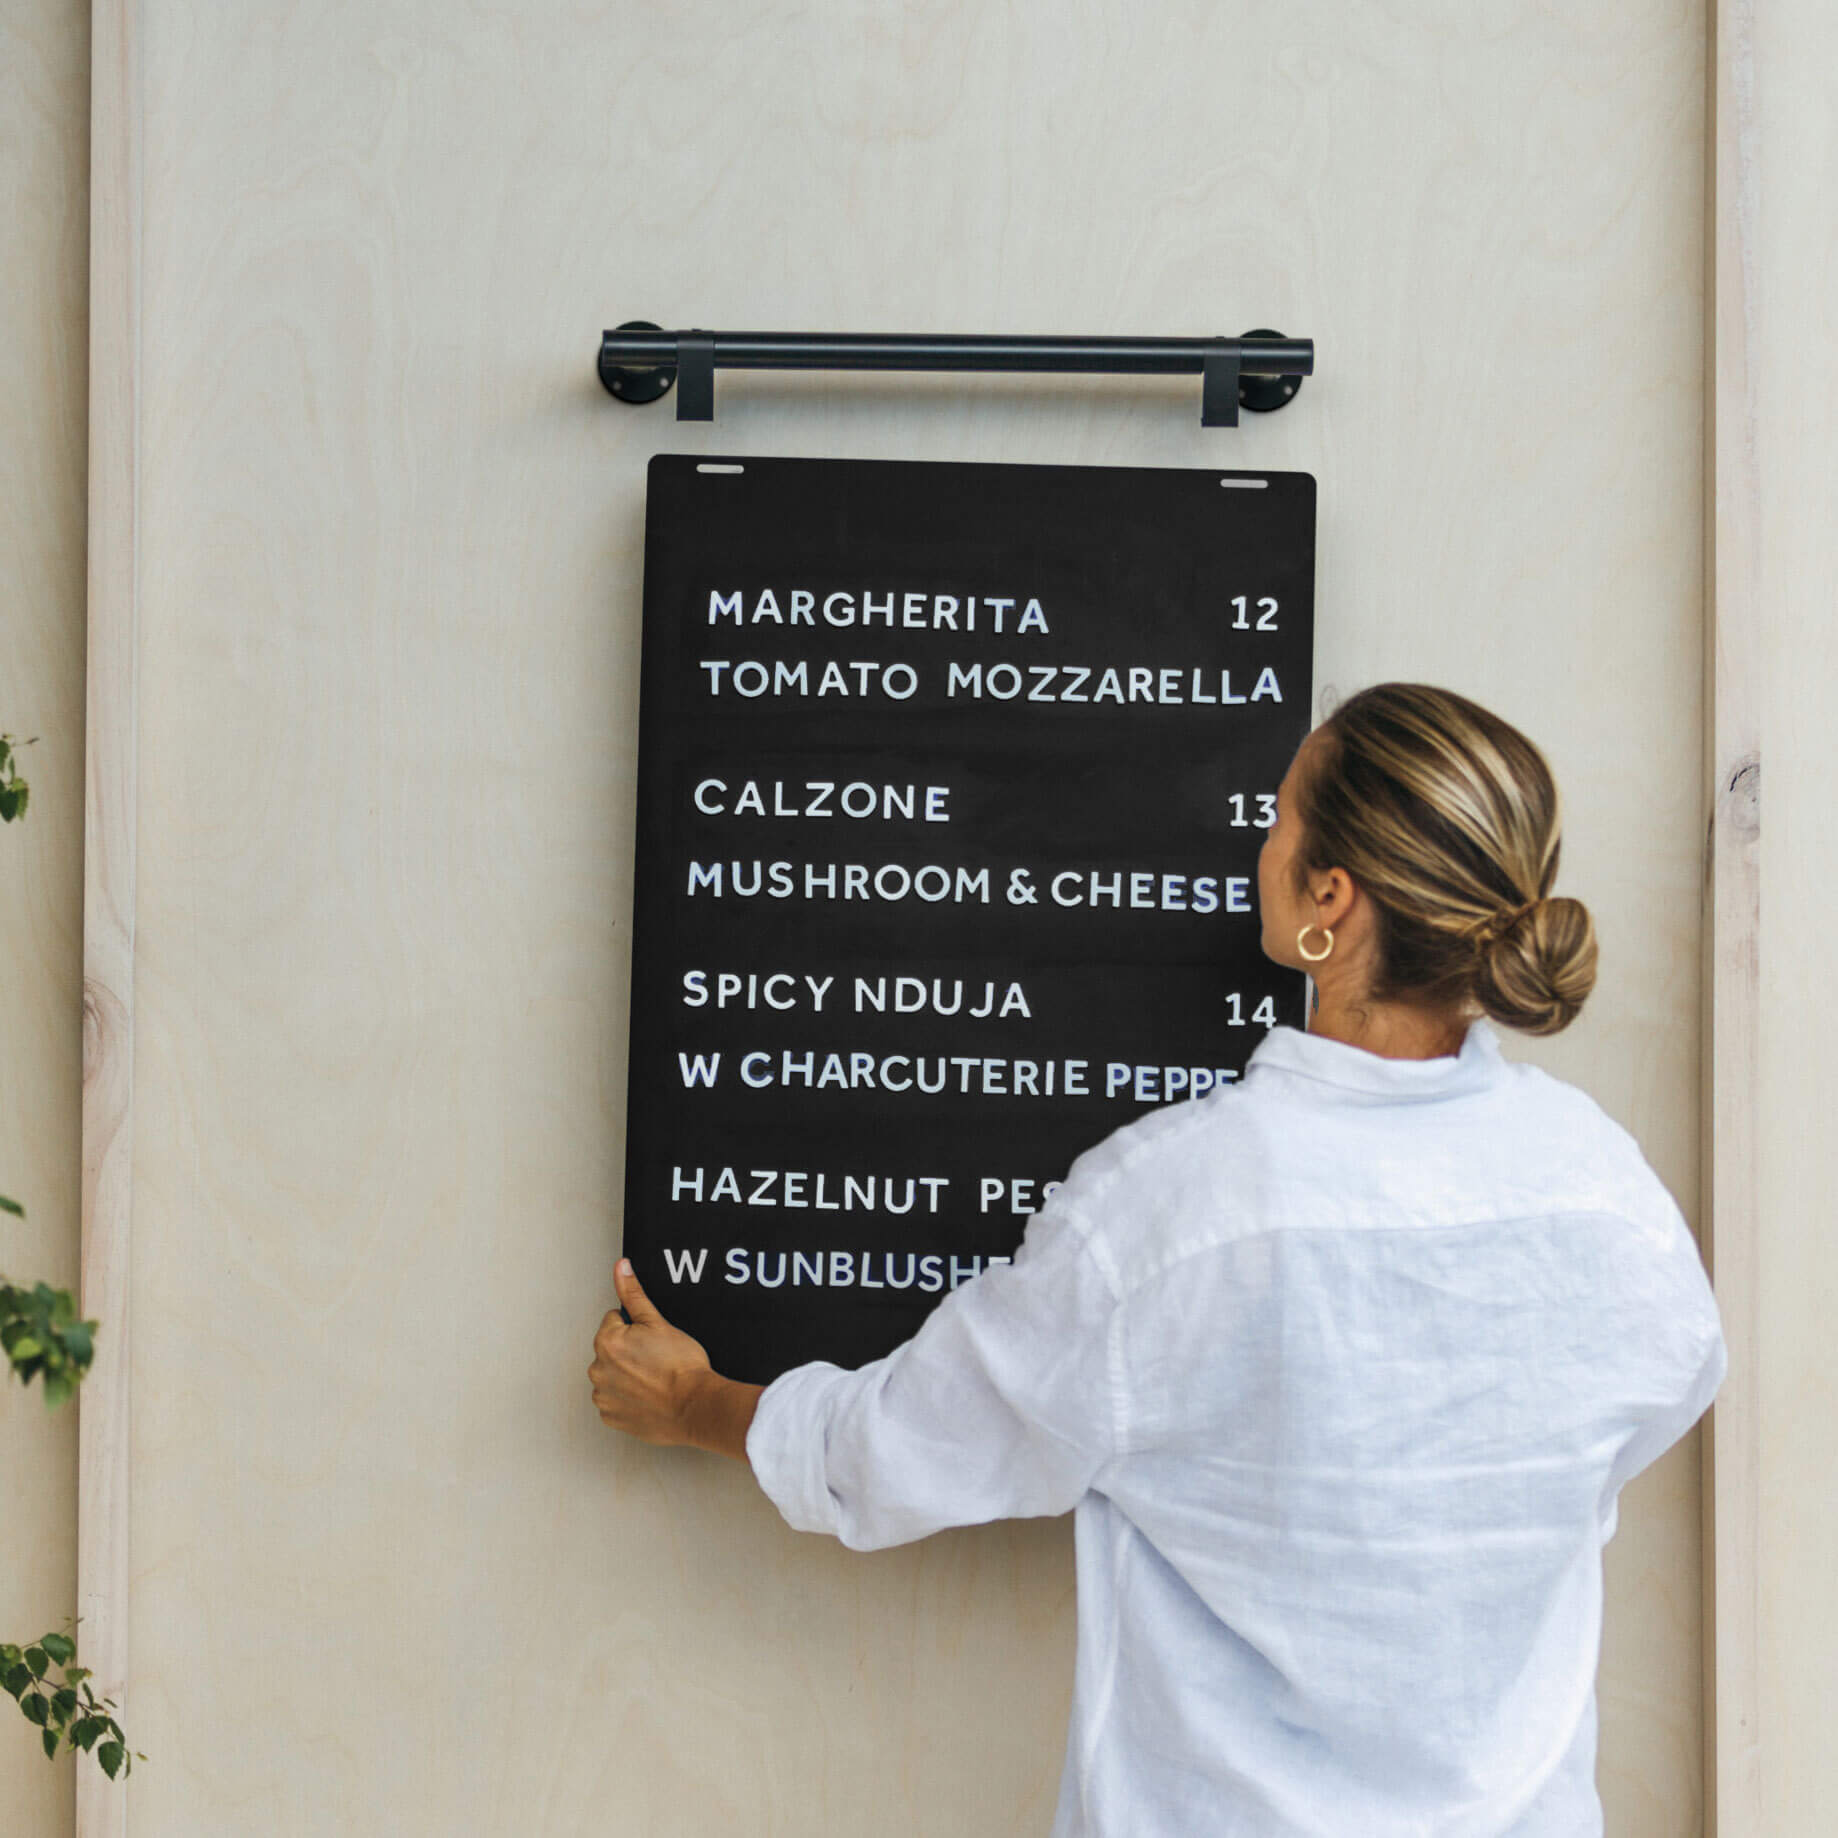
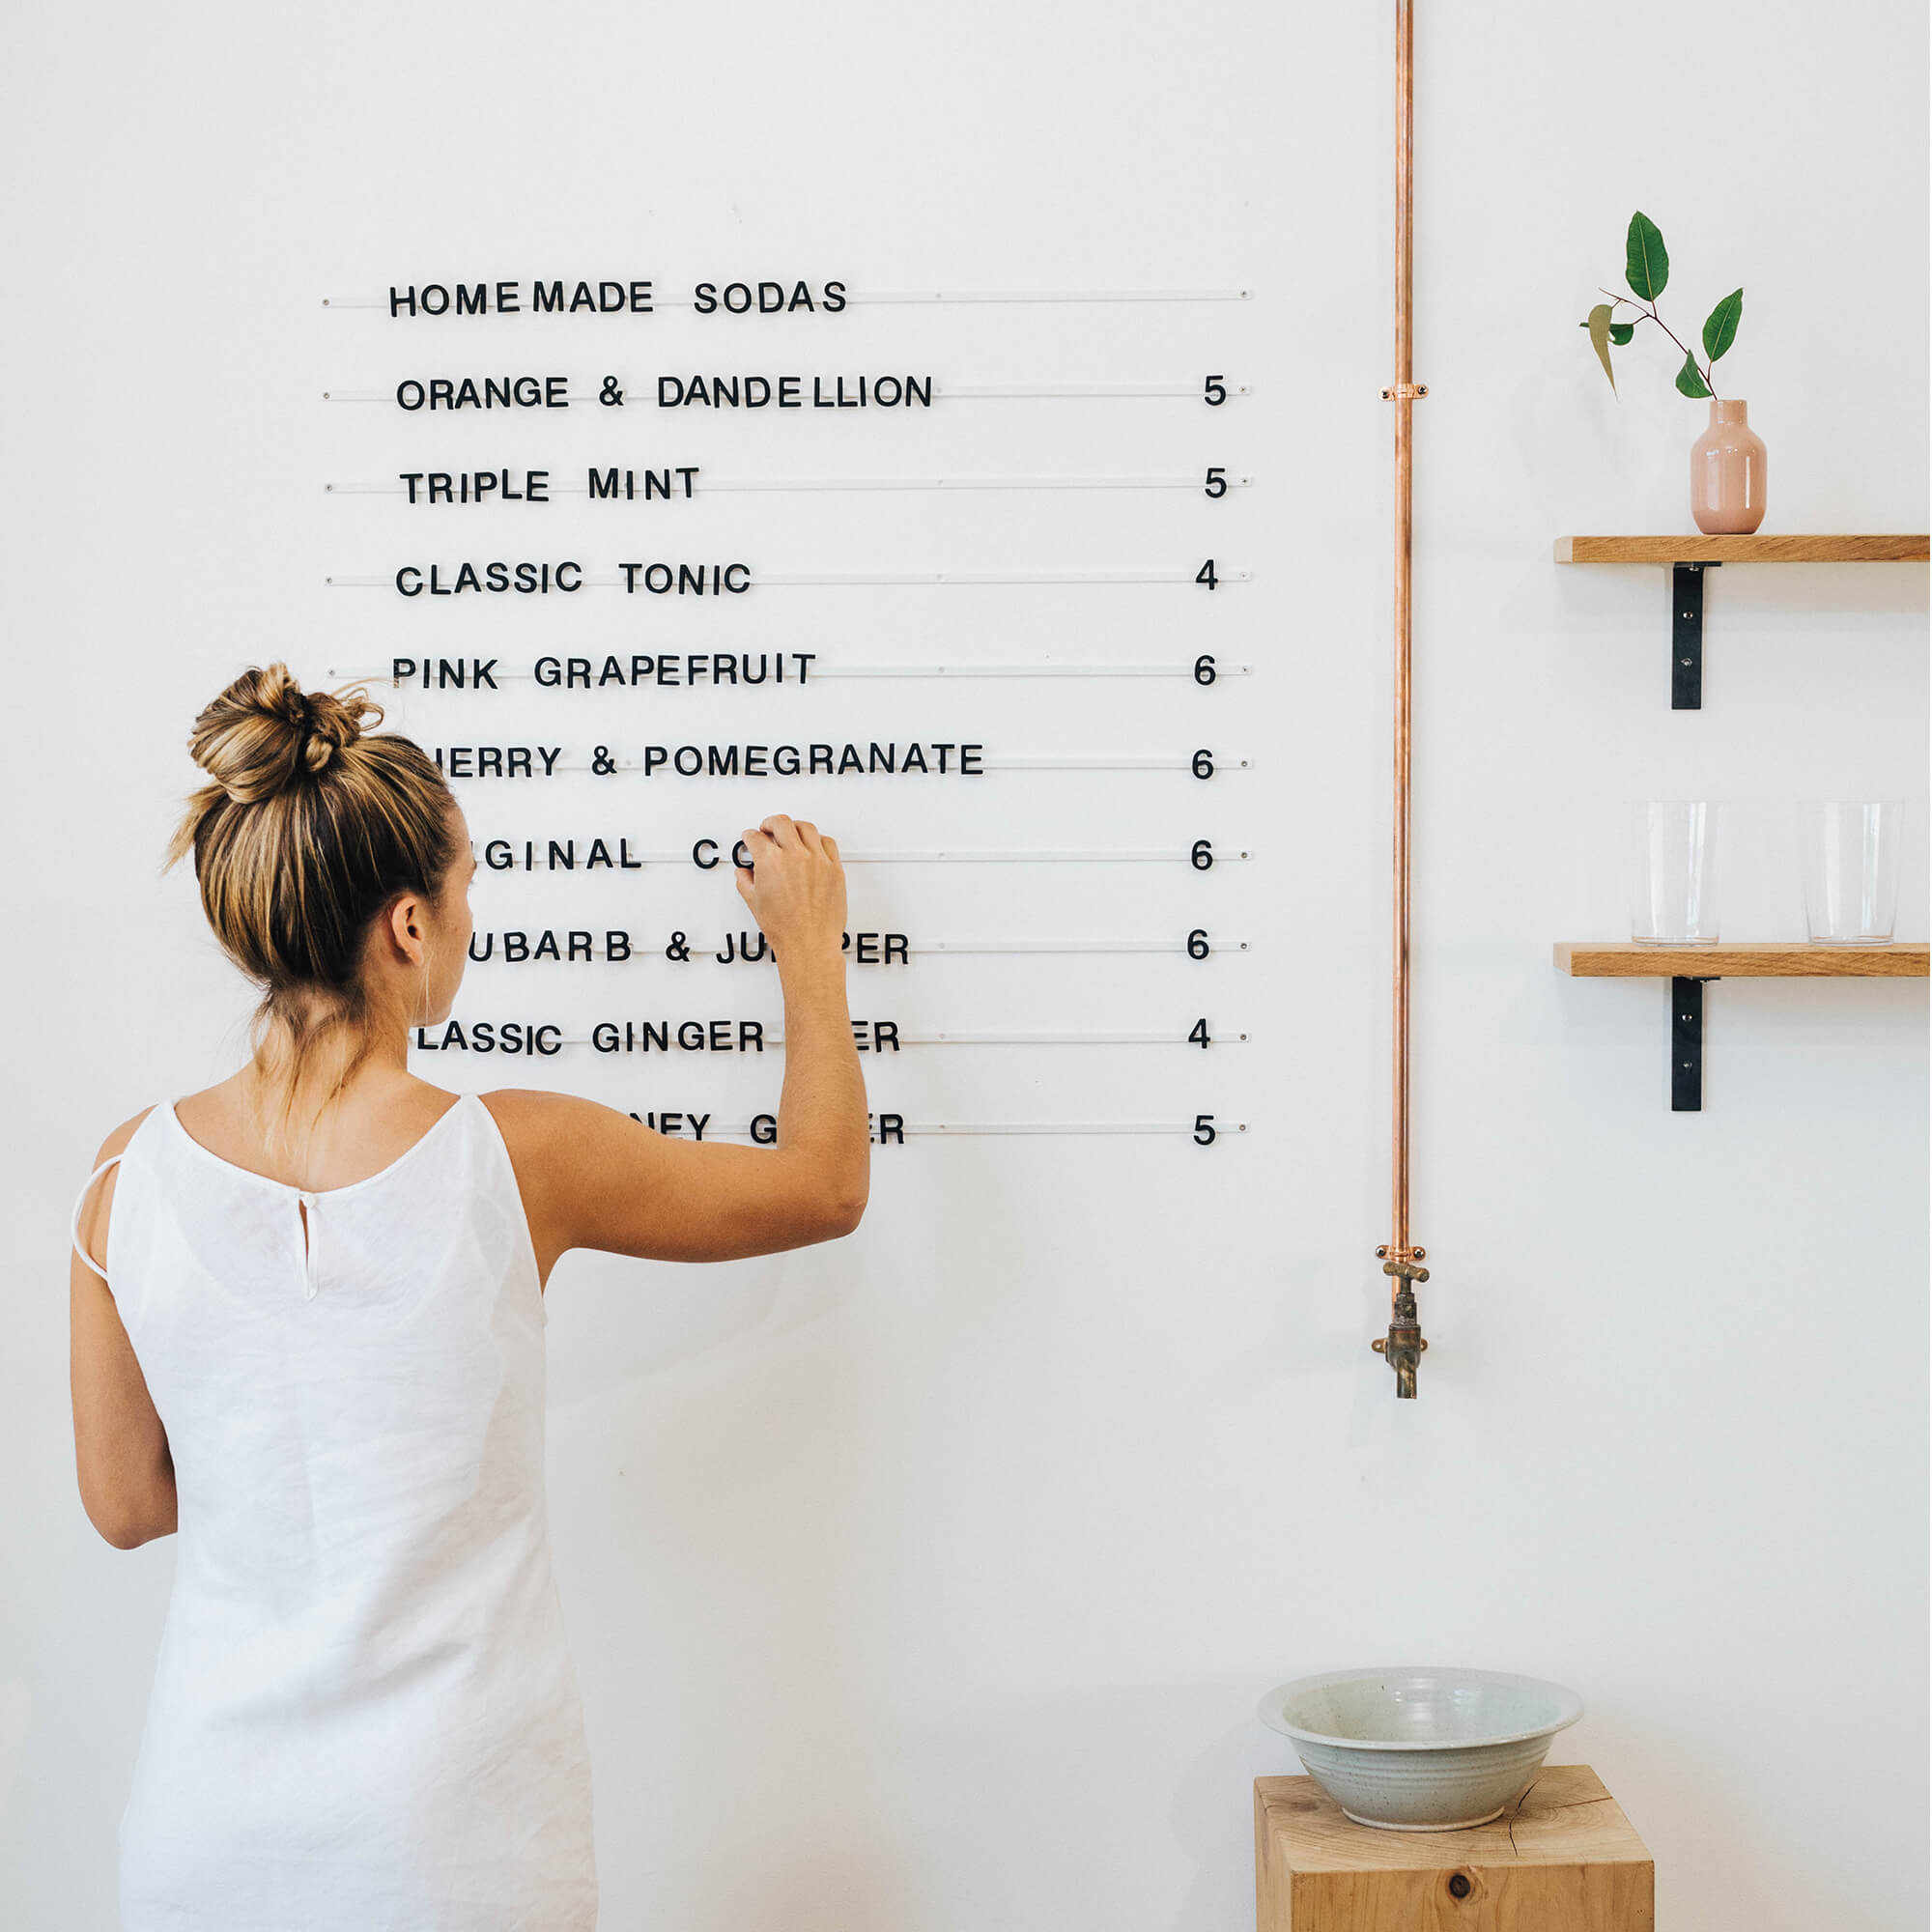
A wall-mounted sign hand-painted by @savvysignco
Drilling Into the Tile
Once you have the right drill bit and the tile is properly prepared, you're ready to start drilling. Before you begin, you should ensure you are using safety precautions, like safety goggles and a secure step ladder if necessary. When you are ready to start drilling, slowly apply pressure and make sure to keep the drill bit at a 90 degree angle.

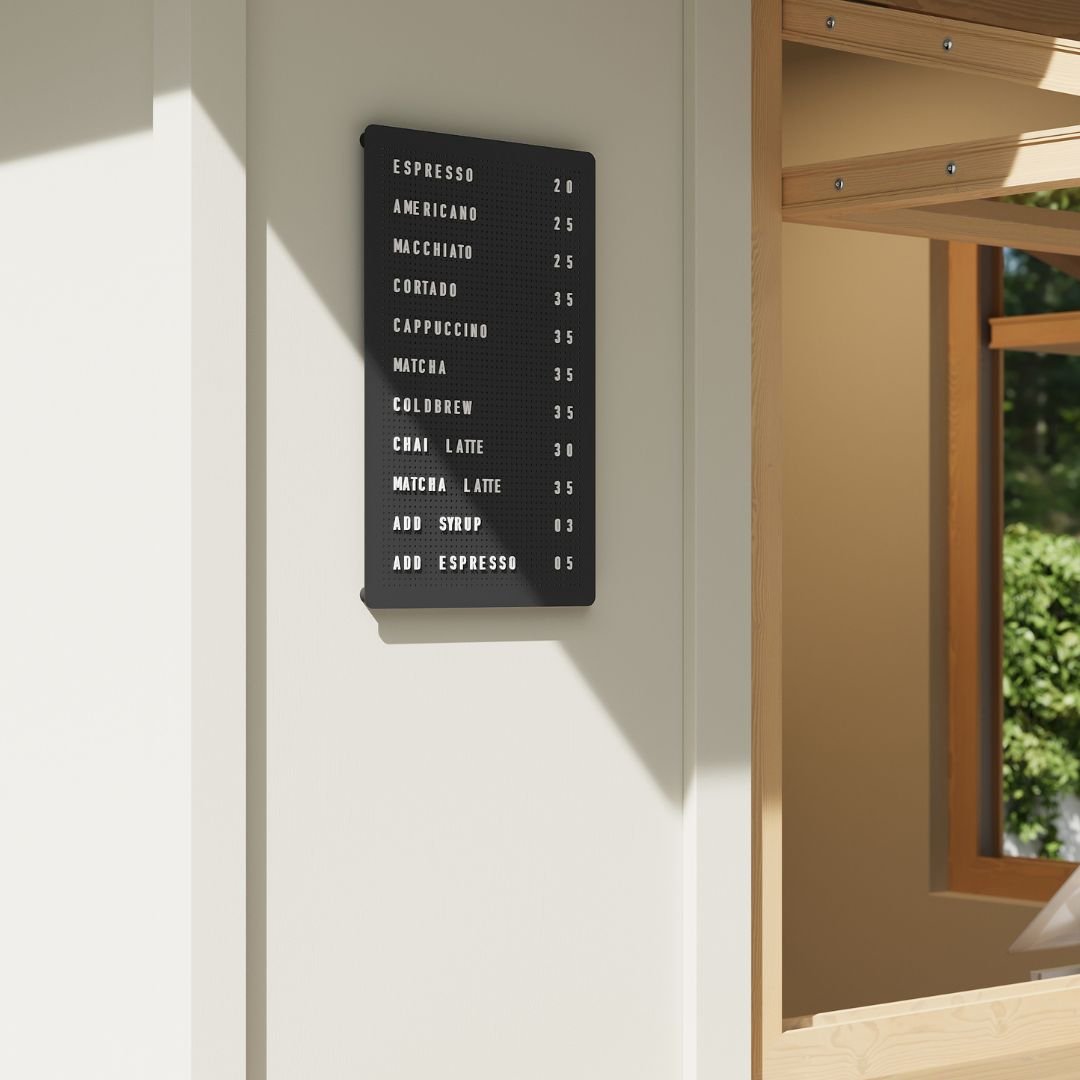
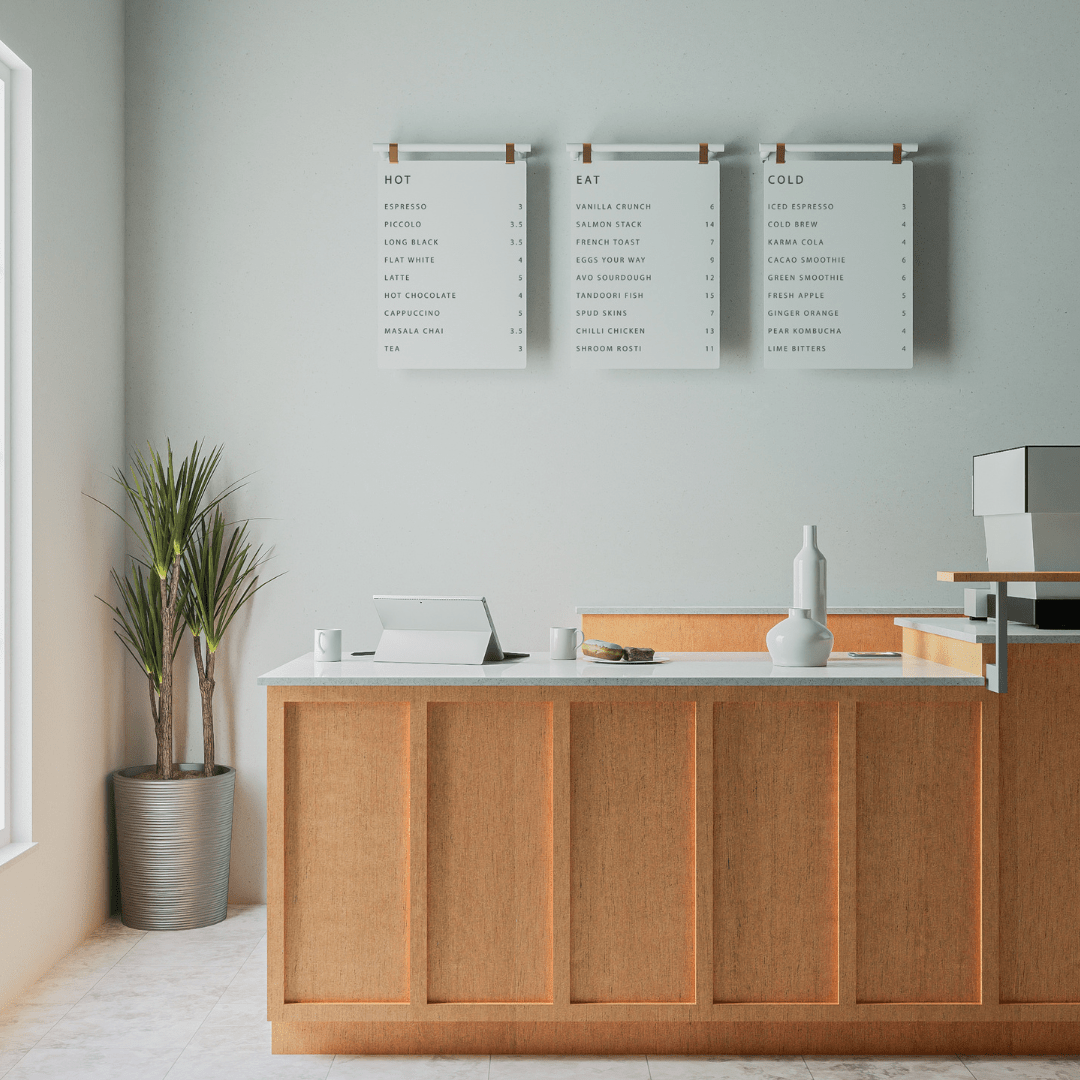
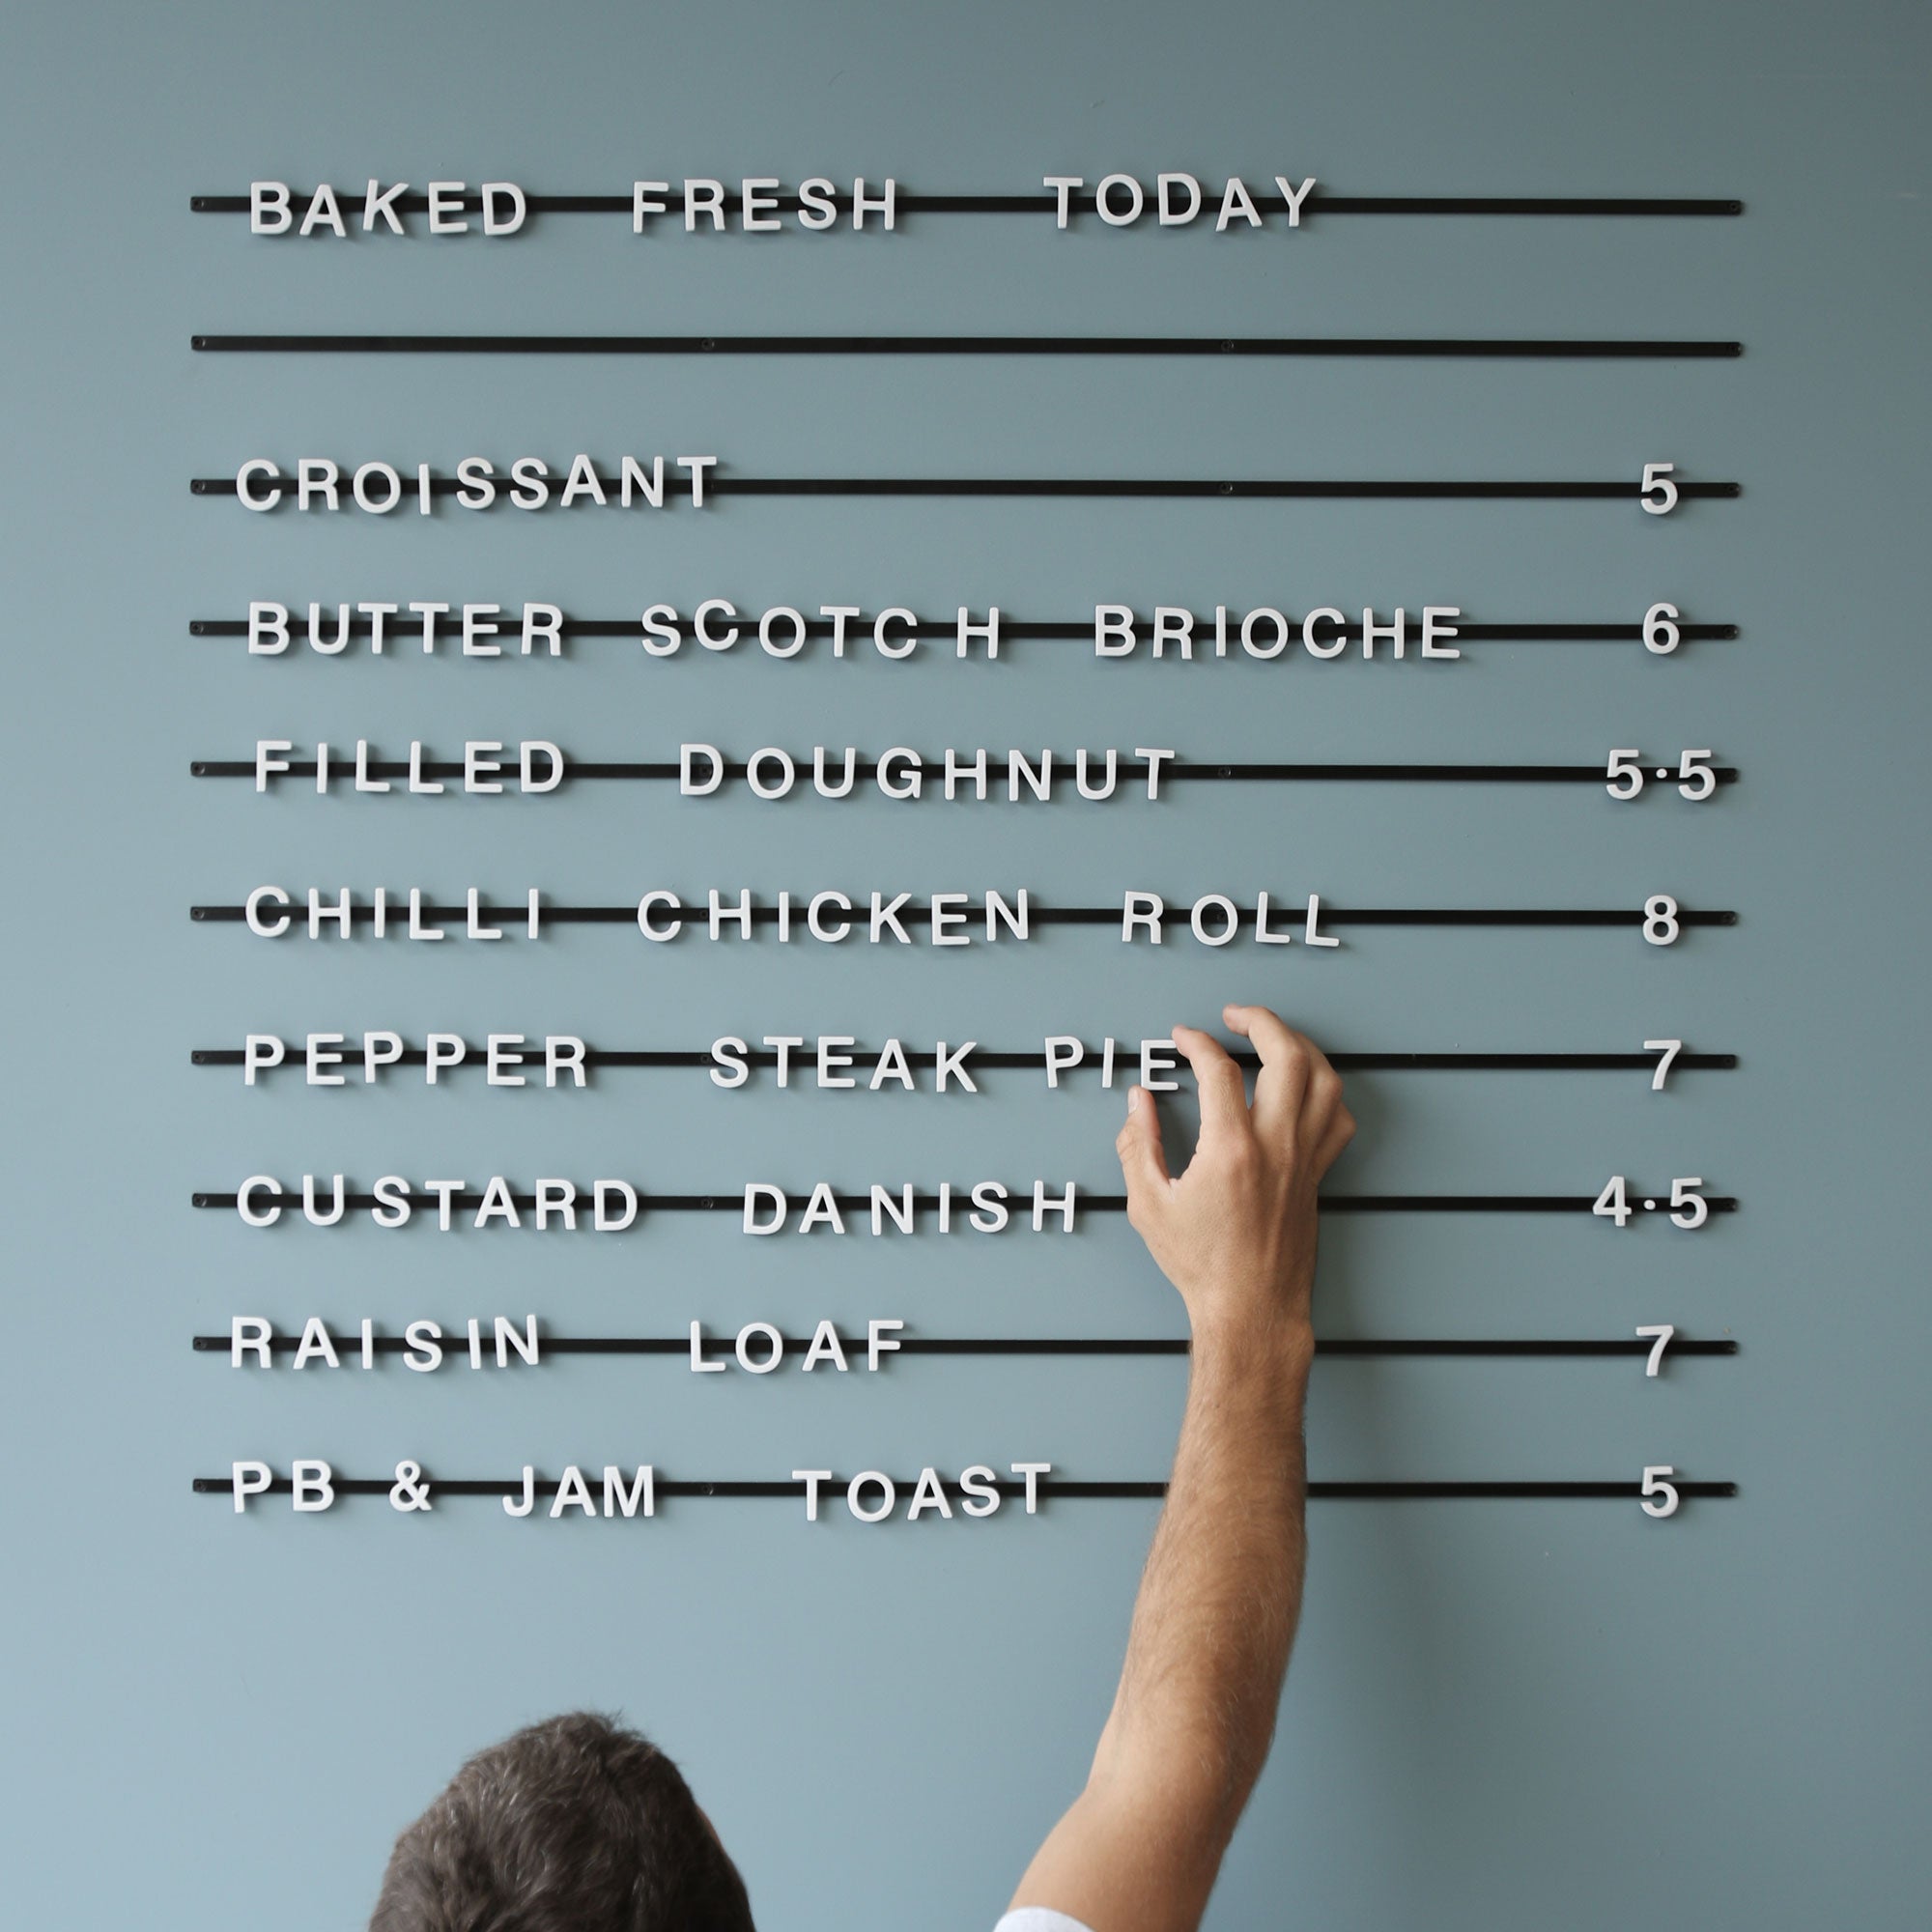
A George & Willy Atelier Letter Board installed on tile
Drilling into tile can be a daunting task, but with the right tools and preparation, it doesn't have to be. By following the steps outlined in this tutorial, you can safely and successfully drill into tile and install your Menu Display, Wall Sign or Wooden Pegboard Shelf without it breaking.
For more tutorials and tips, take a look at the below:
How to Get Your Sign Powder-Coated


